Congratulations! You’ve done more than a little cookie decorating for friends/family and have discovered a new love for this craft.
So, now that you have a little experience under your belt, what supplies should you now add to your collection beyond the basic beginner essentials? Let’s chat below…

This post contains affiliate links, which means that if you choose to click and make a purchase, I may make a small commission at no extra cost to you. I truly appreciate your support!
Remember, when it comes to decorating cookies, there are 1,847 ways of doing things, so it is so important for you to find which methods/tools fit best for you and your style. The items below are just what helped me personally advance my cookie game, and I think they are worth researching as possible options for you.
Let’s get to it.
1. Even Dough Rolling System
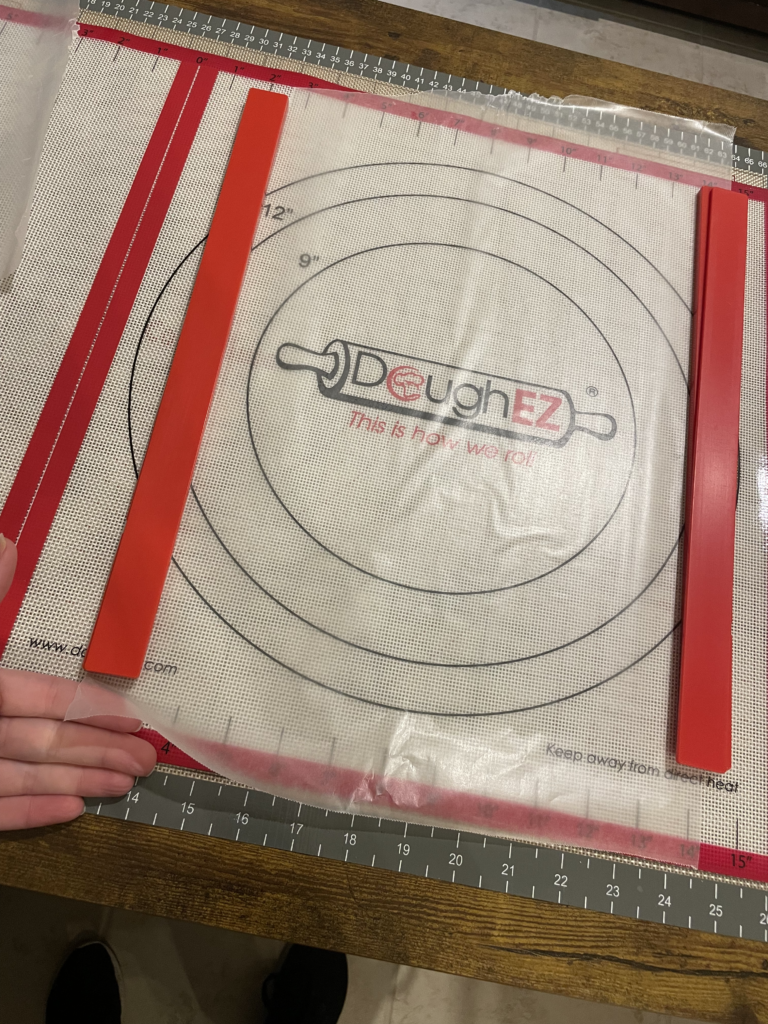
- This DOUGH EZ MAT will definitely help you roll dough that is perfectly even.
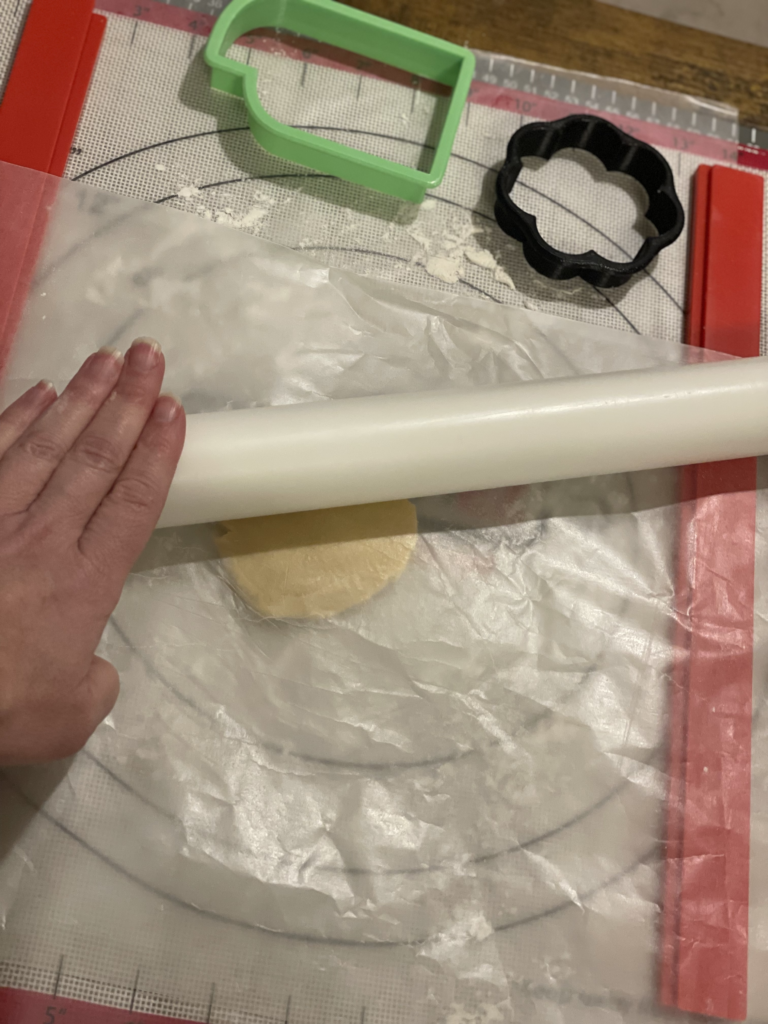
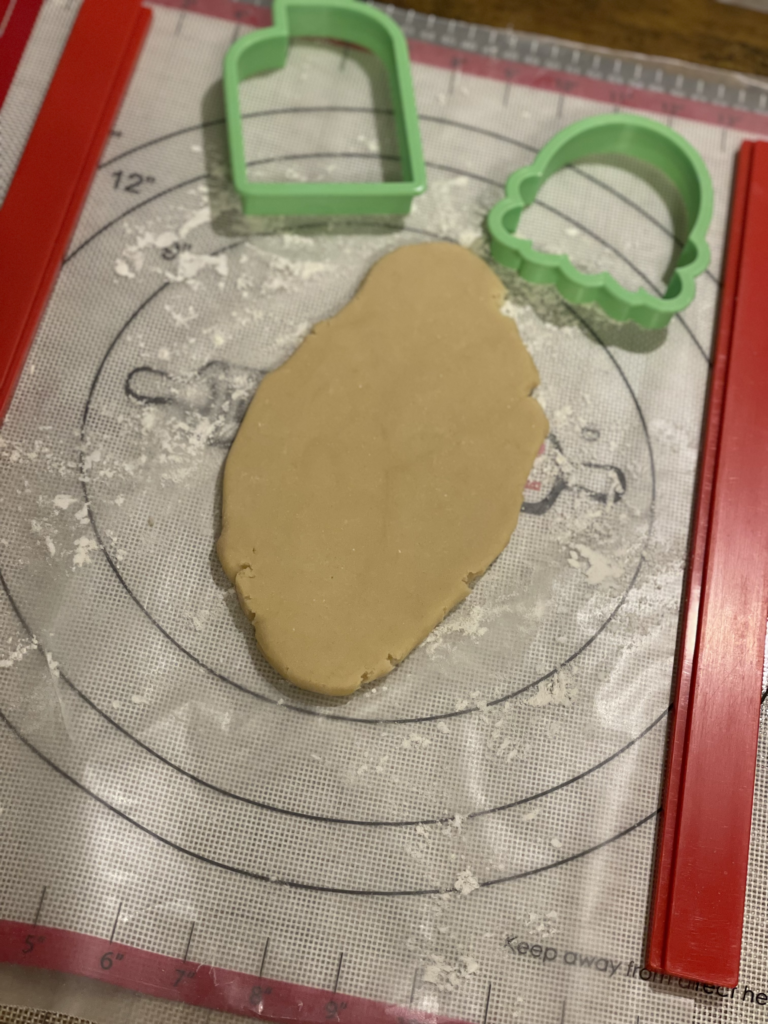
- I like this system because it contains mobile risers that allow you to roll your dough to your desired thickness. Personally, I like to roll to 3/8ths of an inch, so I stack one skinny riser on top of the thicker one on both sides.
- It’s a non-slip mat, and you technically don’t need to add any additional flour for rolling. I do, however, because that’s just how I roll.
- You can roll straight on the mat, but for even easier cleanup, I add a piece of wax paper on top of the mat, then my dough, then another piece of wax paper, then I roll the dough out. I tried to help you visualize this process with the photos below.
- This mat is super durable, can be used for so many different things beyond dough rolling, and it’s easy to clean.
2. Heat Sealer
- Ok, this HEAT SEALER is probably one of my FAVORITE cookie tools I own to this day.
- Using a heat sealer to seal each cookie in your order makes such a difference when it comes to managing your time. Because heat sealed cookies can last several weeks if left in their packaging at room temperature (shelf life may depend on your sugar cookie recipe…I recommend using MY SUGAR COOKIE RECIPE. I’ve tested its longevity, and it stays fresh for WEEKS when heat sealed.)
- PLEASE, get a heat sealer! I even included one of my YouTube tutorials below all about how to seal cookies in different packaging and how to replace its Teflon strip (super easy process) when it’s time to do so.
3. Cellophane Bags
- Cellophane bags are bags you can use with a heat sealer to keep your cookies fresh for a longer period of time.
- Because bagging and sealing keeps the cookies safe in transport and gives another layer of sanitary protection overall, I bag and seal EVERY single cookie that can be packaged (royally iced cookies, drop cookies with no buttercream icing, etc). It’s automatically factored into the pricing of each of my orders.
- For larger cookies, I recommend these 5 x 7 Bags.
- For standard size cookies, I use these 4 x 6 Bags.
- For skinny cookies or mini cookie sets these 3 x 12 Bags are amazing.
- I also like to add several mini cookies in these Pouches. They look adorable, and these pouches are heat sealable.
- You DO NOT need to purchase all of the different sized bags above by any means, but I love having them since cookies vary in size/shape so much. Those are just my ideas and preferences when it comes to packaging.
4. Projector
- Having a projector is an absolute game changer when it comes to cookie decorating, and if you’re serious about wanting to continue this craft, I would definitely get one at this point.
- There are many different projectors on the market, but I started with this MINI PICO PROJECTOR that plugs into my laptop. From my computer, I can project images down onto the cookie to trace with icing. This same projector is still going strong for me 5 1/2 years later!
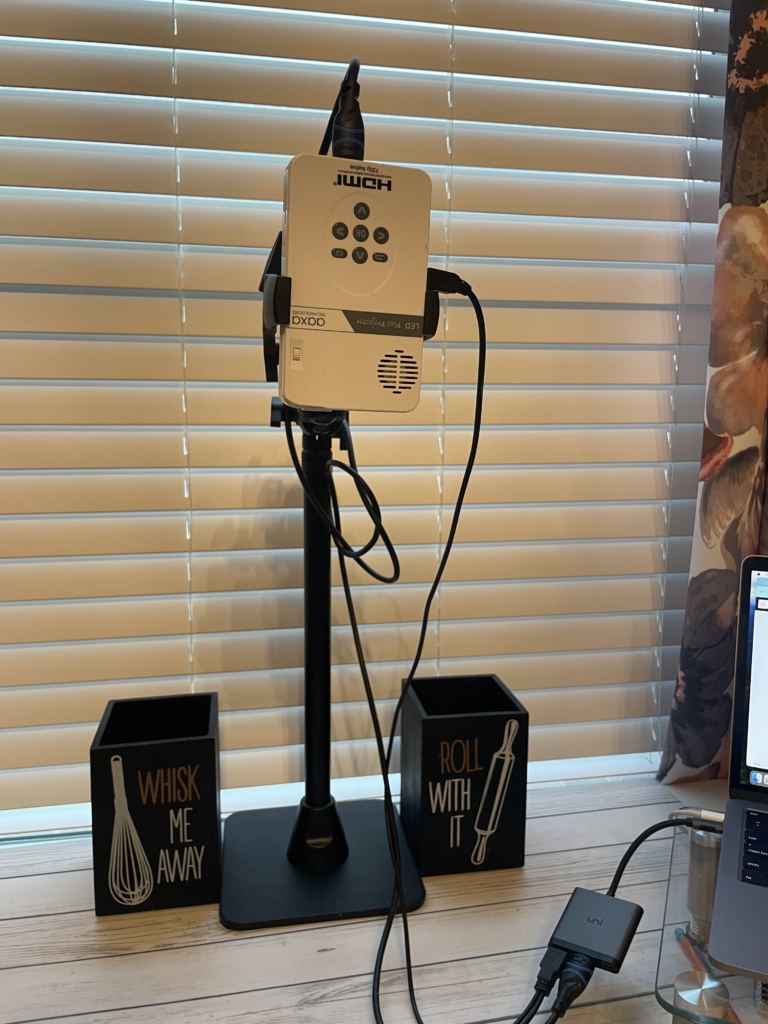
- Below are a few shots of how my projector is set up on my cookie desk. You’ll want a PROJECTOR STAND to hold the projector to make it functional. I have since upgraded to an ARKON MOUNT STAND, which is the one pictured in the photo below. One like that is not needed at this point, but I wanted to link it anyway in case it interested you.
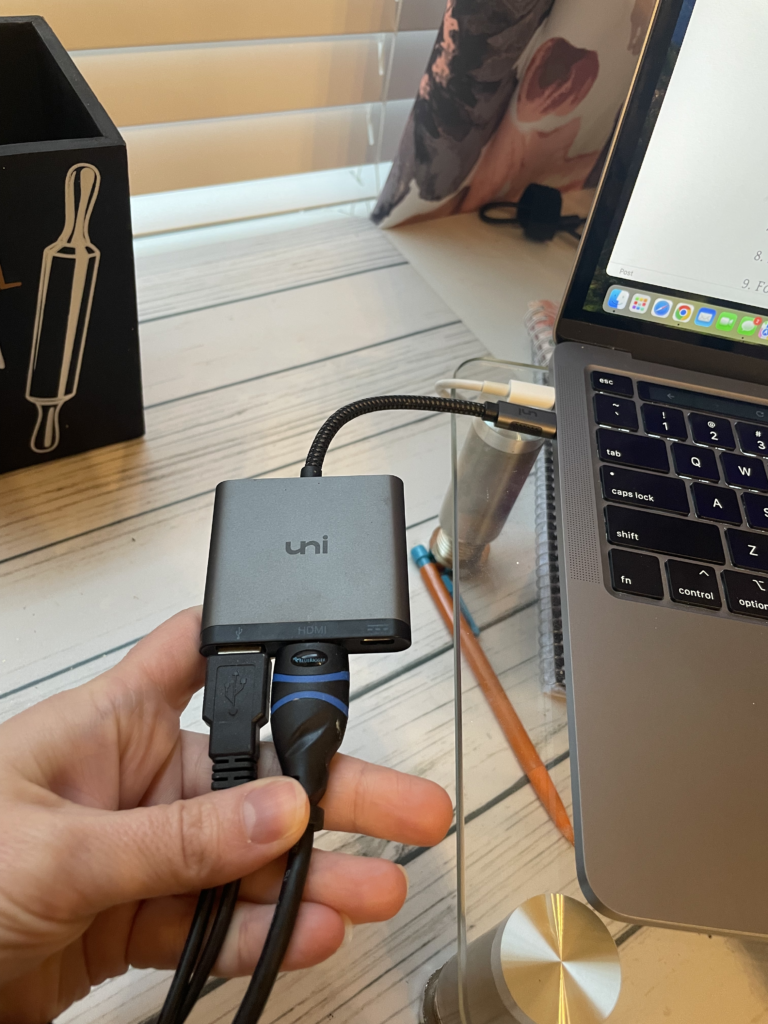
- If using your projector with a laptop, you’ll likely need an adaptor depending on the type of your computer. I have a MacBook Pro and use this ADAPTOR to connect my projector to my laptop. *Your setup may vary!
- If you need a visual, you can watch me pipe a pretty letter “P” using a projector in the video below.
5. Piping Tips
- Honestly, I use tips VERY seldomly, but there are still a few tips to have in your collection. This minimal PIPING TIP SET would be great to have.
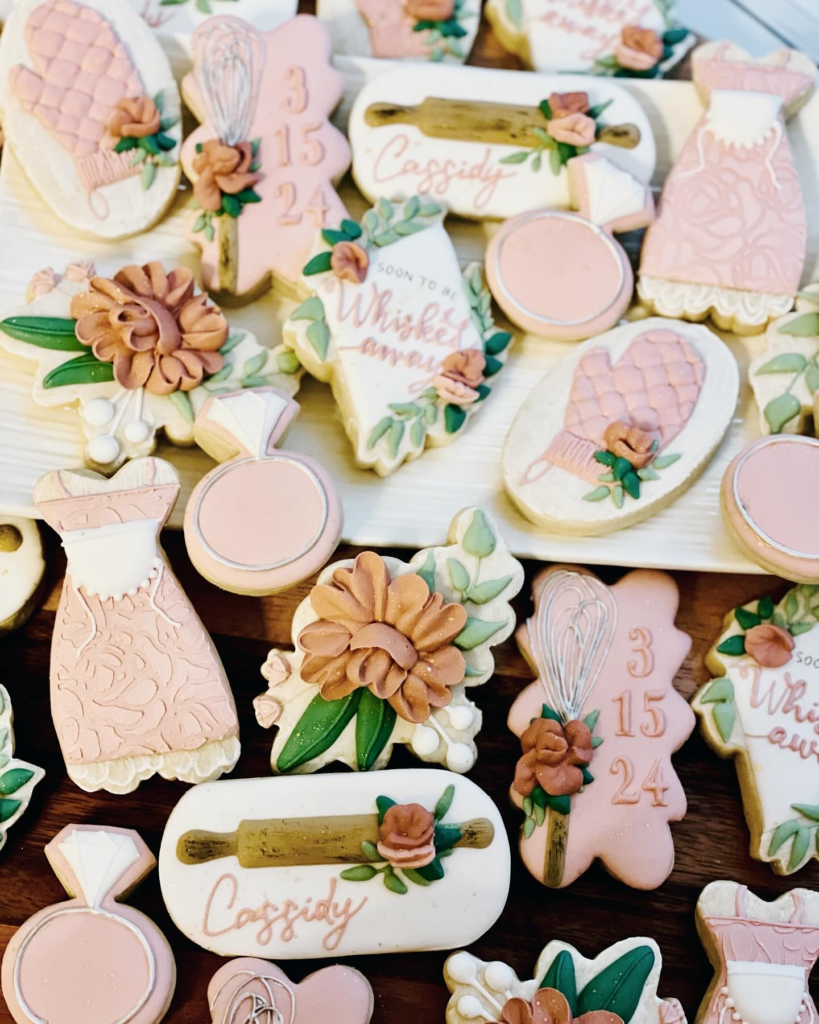
- I really only use tips when I need to pipe stiff floral designs like pictured in the clusters below.
- The STAR TIP, LEAF TIP, and PETAL TIP (of varying sizes) are really the only tips I tend to use when needed.
6. Stand Mixer
- I started with a KitchenAid STAND MIXER, and it definitely helped me whip up dough and icing as needed.
- I currently have a BOSCH, and I am IN LOVE. You may not need this beast of a machine just yet, but I got to where I needed to mix larger quantities of dough at once to save time. The Bosch does that SO WELL. I still use my KitchenAid for icing, but my big beautiful Bosch is now my go-to for dough.
7. Expand Cookie Cutter Collection
- You’ll want to branch out from the standard circle, square, heart shapes you were practicing with in the beginning stages.
- Sweet Sugarbelle has fantastic themed cutters you can buy in bulk like this LETTER SET or this versatile SHAPESHIFTER SET.
- Some of my favorite cookie cutter shops are Kaleidacuts, Wildflour Bakery, and The Cookiery. There are SO MANY great cutter shops!
8. Luster Dusts
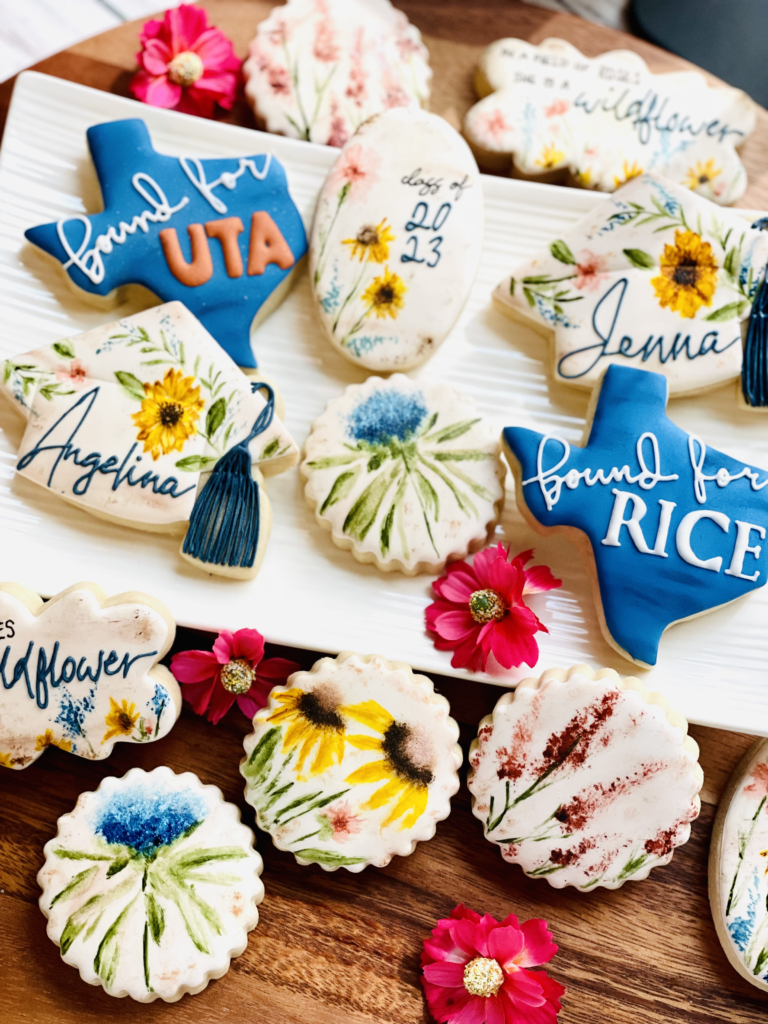
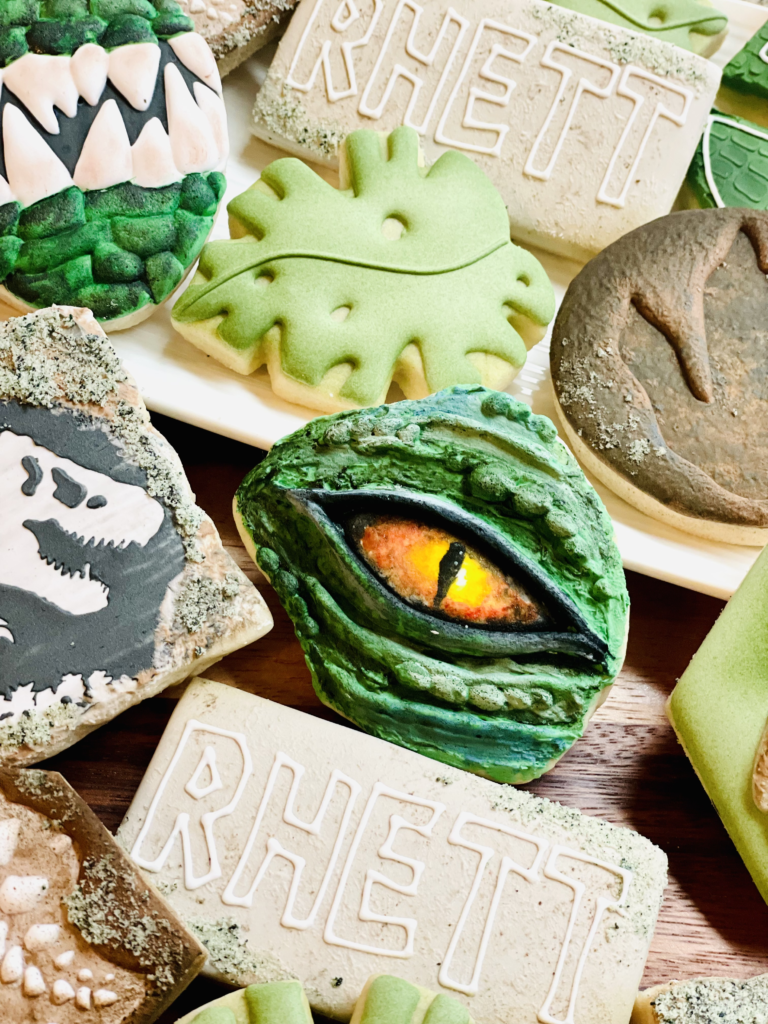
- Luster dusts are powders that you can mix with Vodka or Everclear (don’t worry, the alcohol completely evaporates from the cookie surface as it dries), so that you can add beautiful metallic type details within your cookie designs. It just boosts your cookie design options!
- My favorite food grade (I am a worry wart, so I only use FDA food grade dusts instead of the ones only labeled as “non-toxic”) luster dust brand is Bakell. They have a beautiful GOLD LUSTER DUST and many other colors available as well.
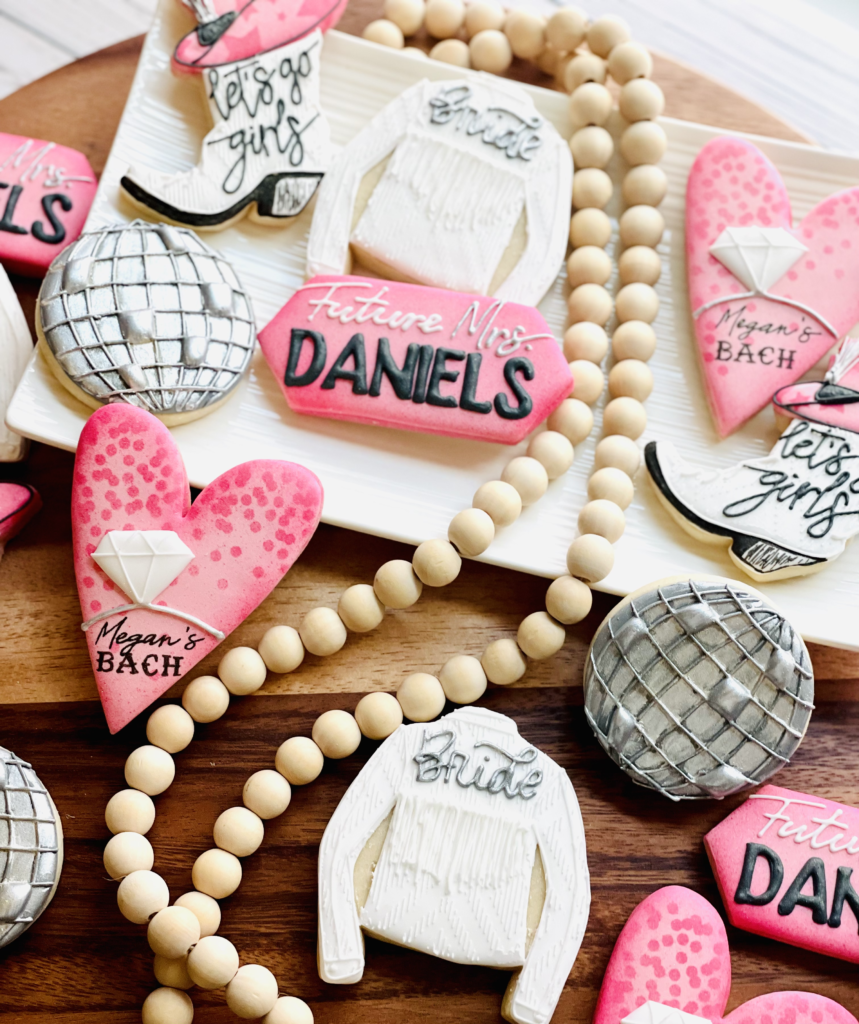
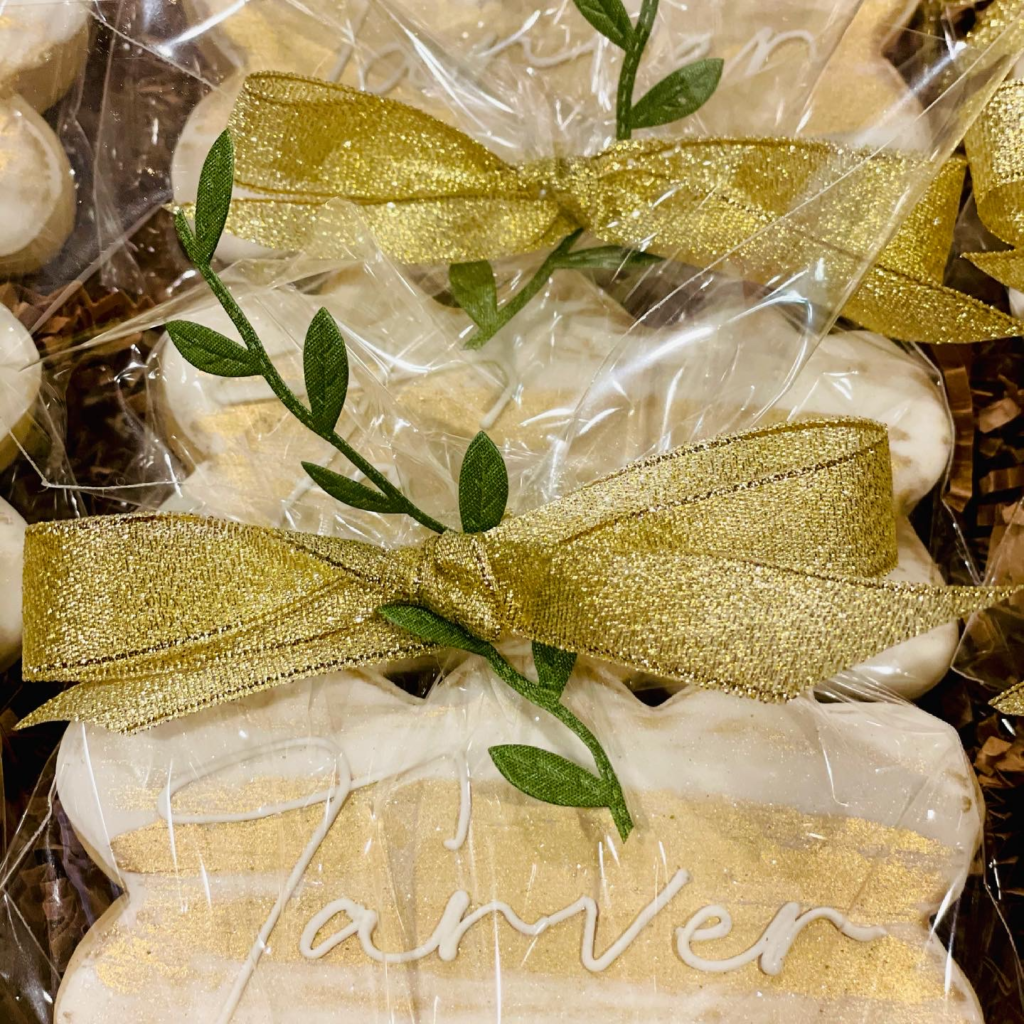
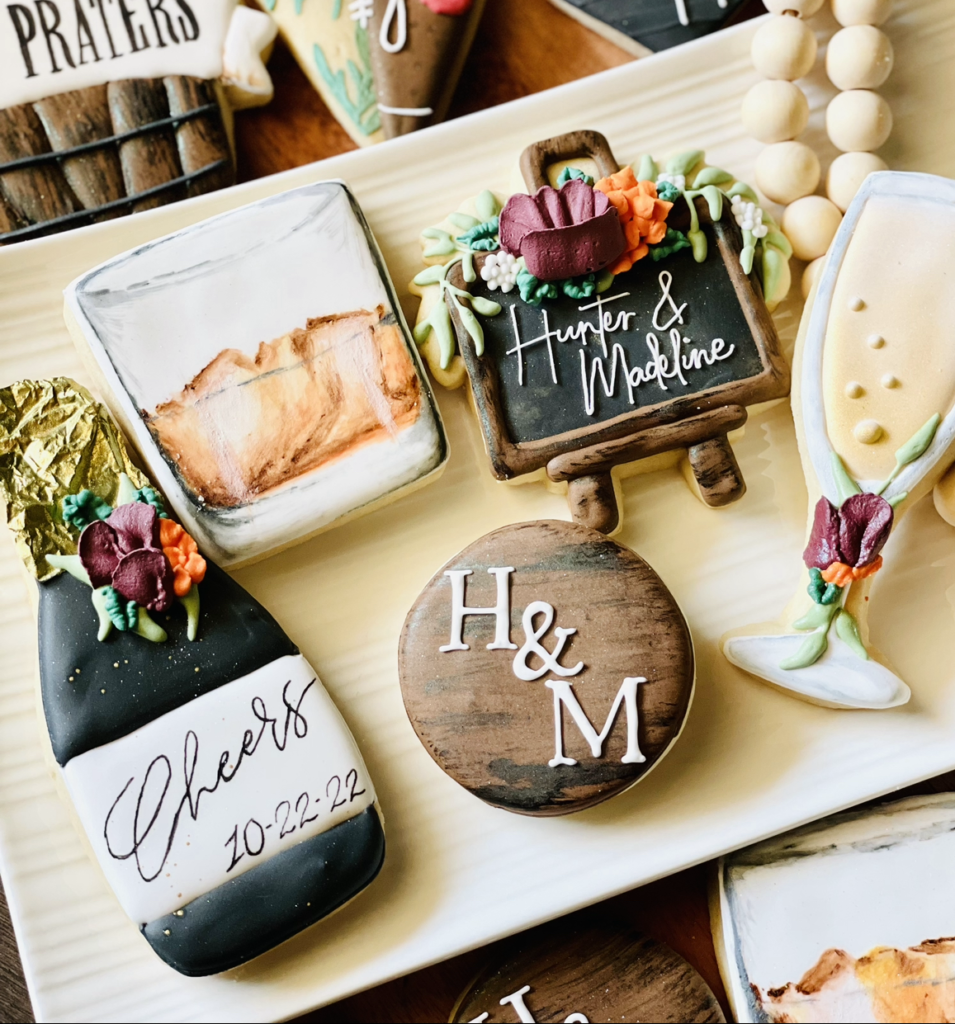
- As an example, the cookies in the photos below had luster dusts added to some of the designs.
9. Food Brushes
- To help apply your luster dusts, you’ll want to snag some FOOD SAFE BRUSHES for painting on cookies.
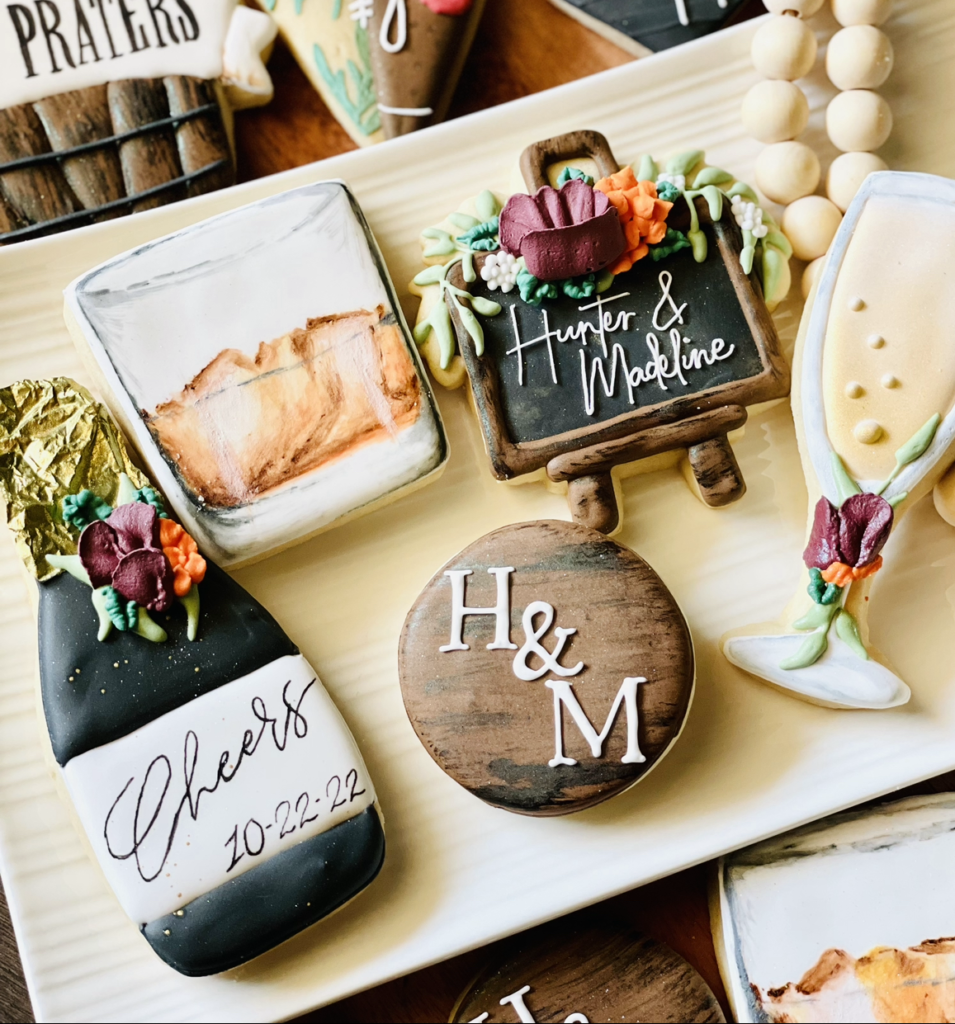
- You can also watercolor on cookies with food gels using these brushes like I did in the sets below. The options are endless! *NOTE: I use the fan brush for SO many things. Make sure you snag a set that includes a fan brush.

10. Edible Pens
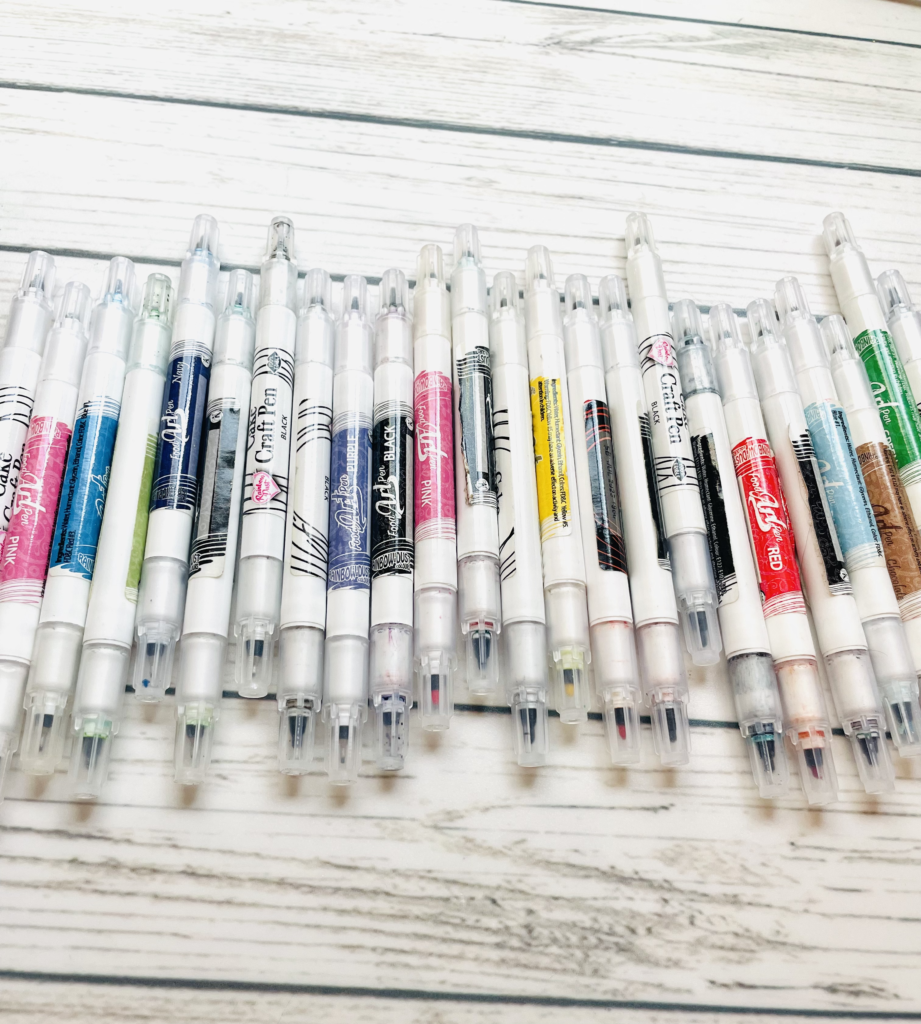
- My absolute FAVORITE edible pens are RAINBOW DUST pens. With the dual tips on either end, they are so incredibly worth it. They last awhile, and I can write super fine details on cookies using the fine tip.
- They come in many different colors, too!
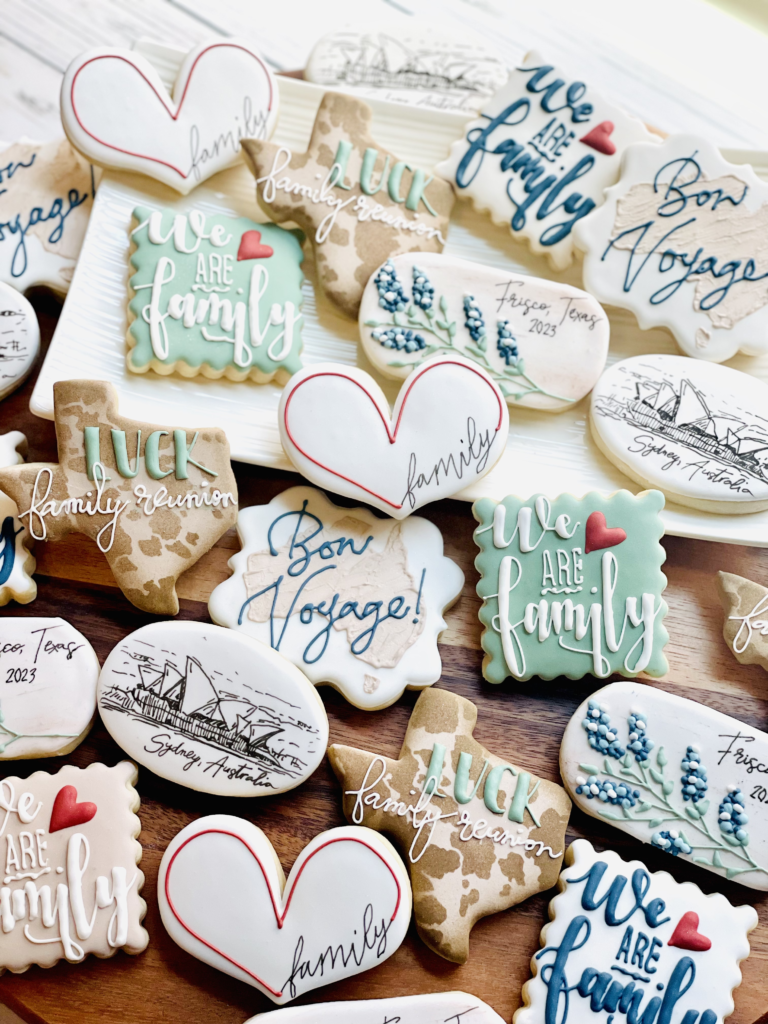
11. Bakery Boxes
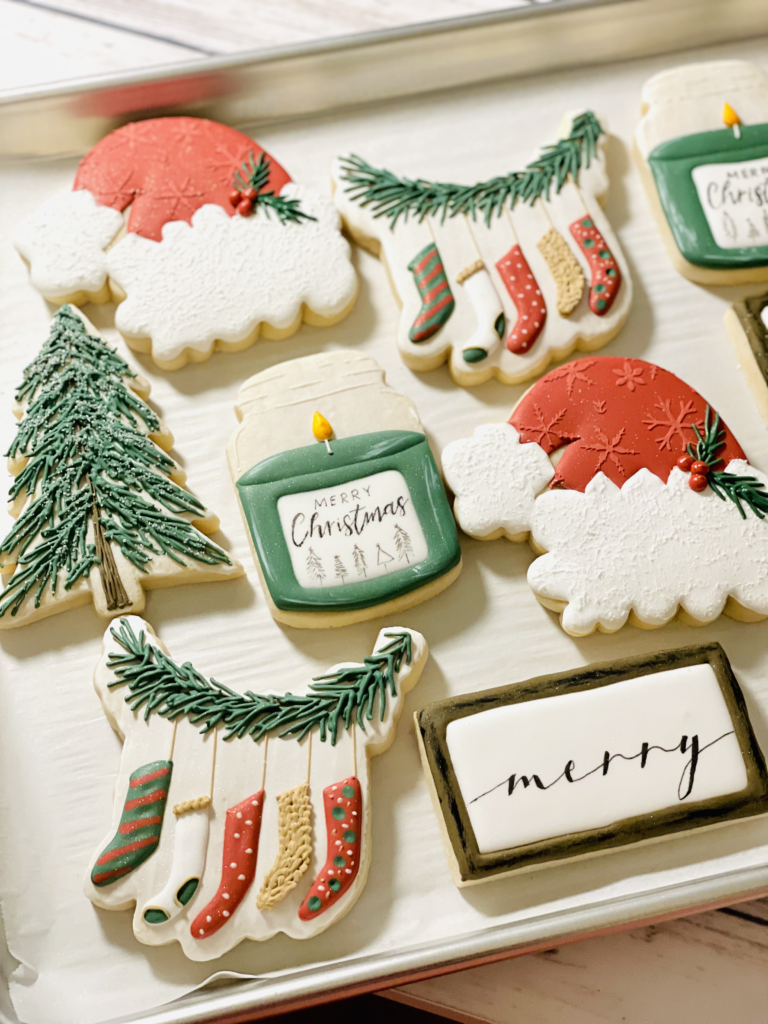
- I’m SUCH a sucker for professional looking cookie packaging. Your customers will be impressed if you take the time to package their orders well, I promise you.
- If you’re ready to buy boxes in bulk to package larger orders you’re beginning to schedule, I HIGHLY recommend BRP BOX SHOP. They have phenomenal service, fast shipping, and super reasonable prices on a variety of sizes when it comes to buying bakery boxes in bulk. I love using the 16″ x 11 1/2″ x 2 1/2″ Brown Lock & Tab Box with Window for my multiple dozen orders.
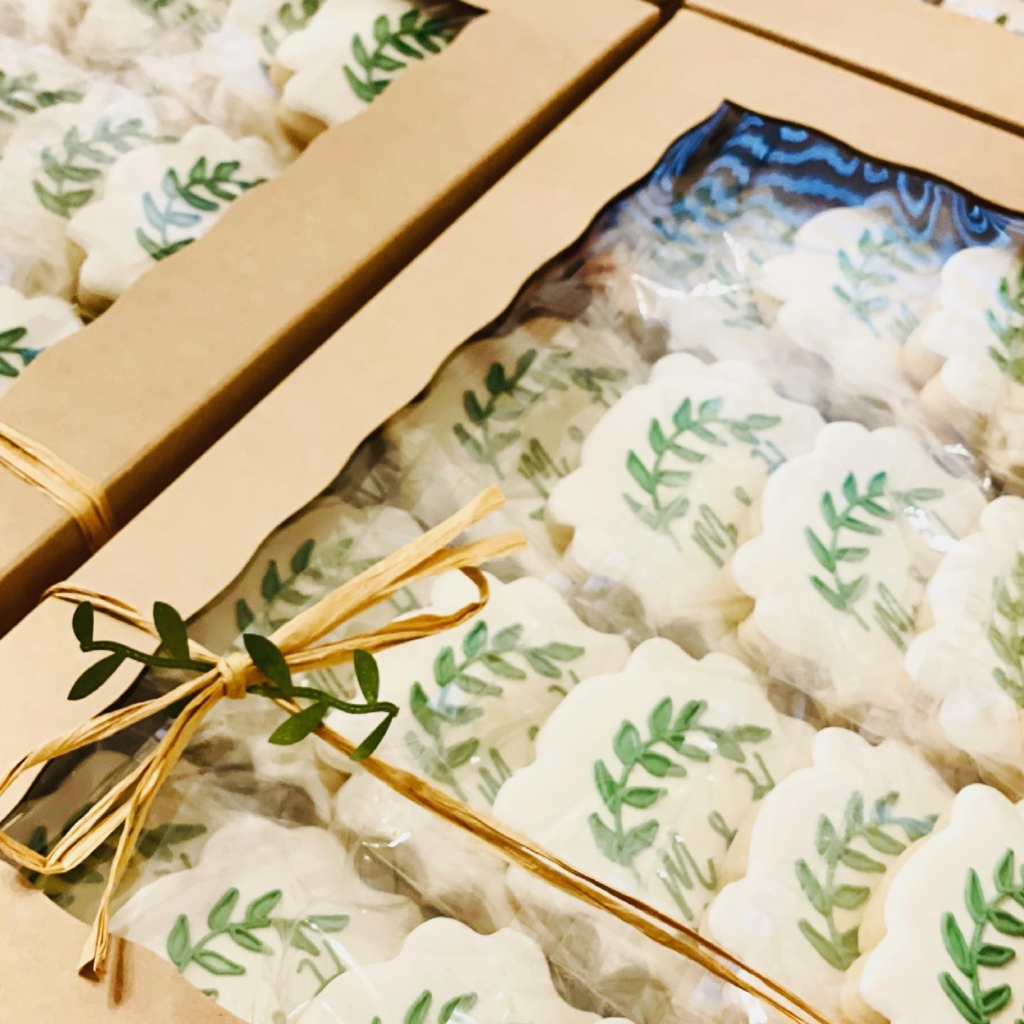
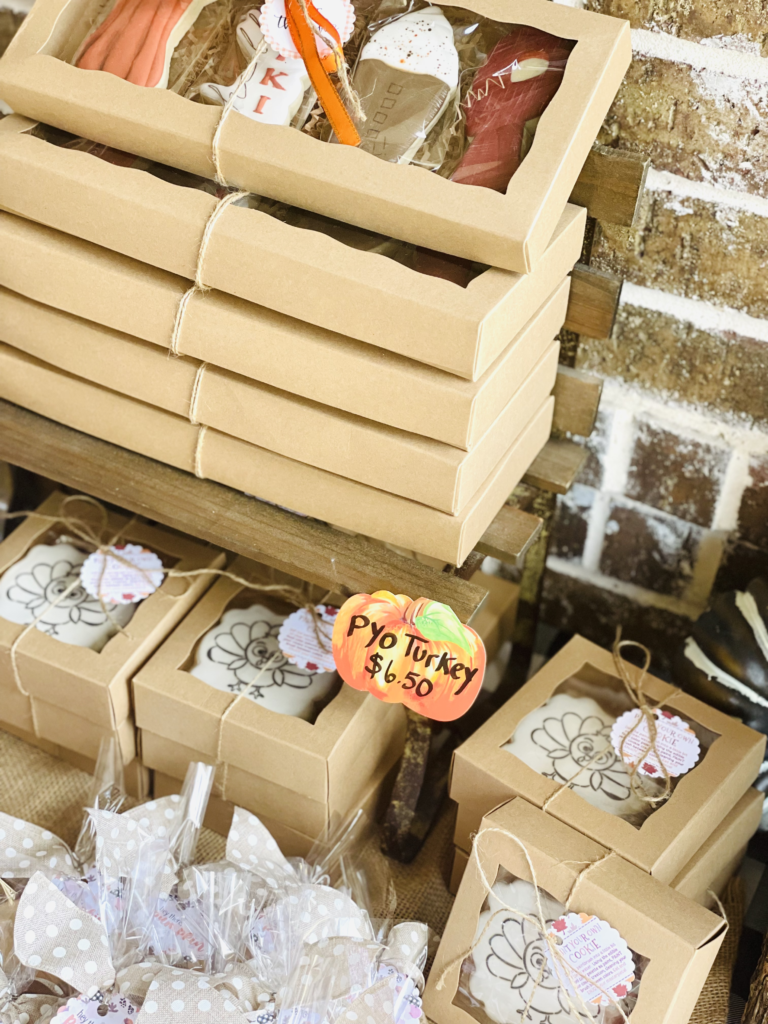
- If you’re not quite ready to purchase that many boxes at once, that’s totally fine! These BAKERY BOXES on Amazon are a nice option.
- I use these SMALLER BOXES for drop cookies and smaller cookie sets. You can’t be that quantity and price!
12. Cookie Calendar
- At this stage in your cookie decorating journey, you are taking some orders and need a place to organize them.
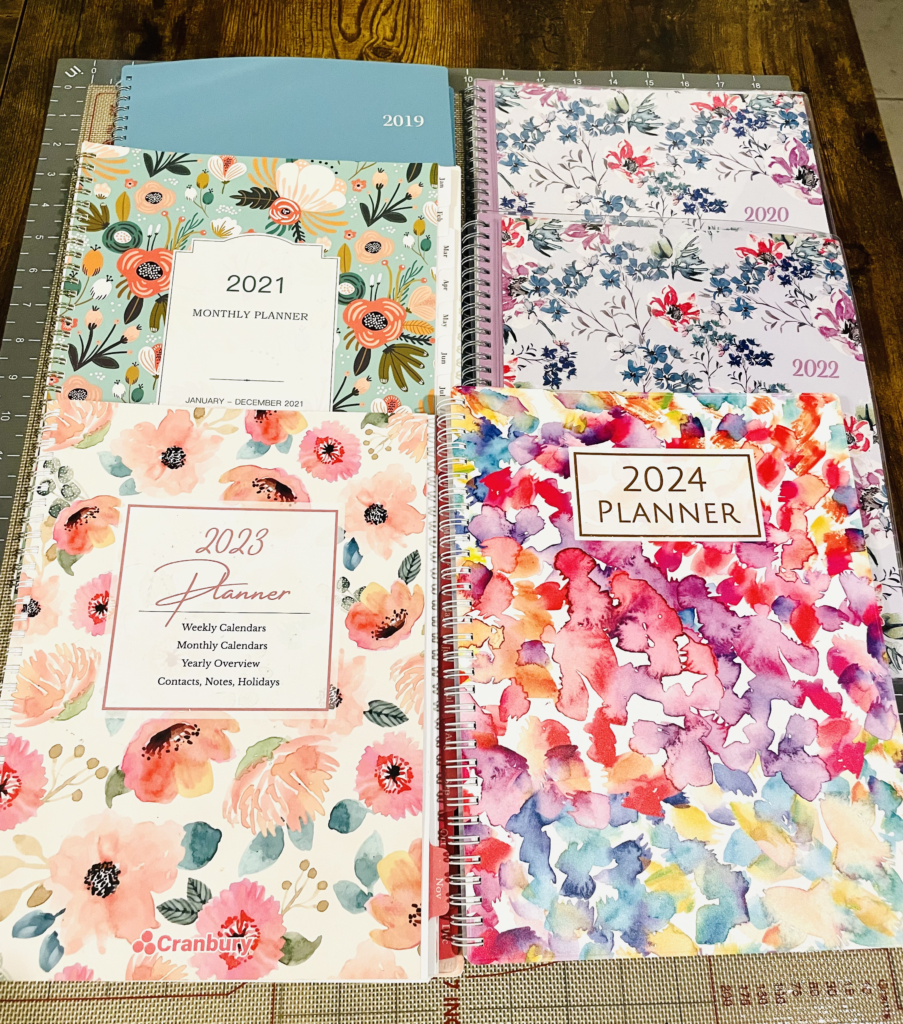
- I’m a pencil and paper kind of gal, so I LOVE organizing all of my orders in this COOKIE PLANNER. It gives me a place to record the order and its details in the note sections. I ALWAYS immediately record orders here the second it’s finalized. Relying on a digital system to take orders worries me some. What if there was some sort of tech issue that arose that prevented me from accessing my scheduling information? YIKES!
- By the picture below, you can tell I am a faithful customer of these large, beautiful, spiral bound planners. They sure do help me stay organized.
Alrighty then! With some of these added supplies, patience, and PRACTICE, you are on your way to becoming an advanced cookie decorator, friend. HURRAY FOR YOU!
If you enjoyed this post, you might find the posts below helpful, too! Have a looksie by clicking on the images.
