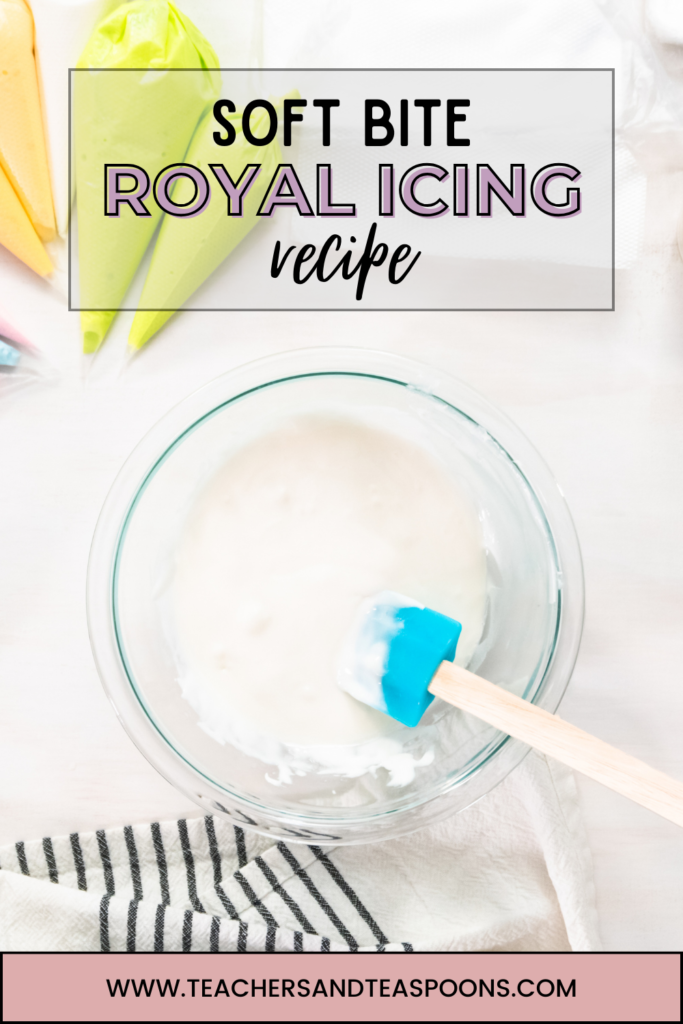
Are you looking for a royal icing recipe that will taste YUMMY and fully dry with a SOFT bite?
Welp, ya found it. Just look below!
This post contains affiliate links, which means if you choose to click and make a product purchase, I may make a small commission at no extra cost to you. I truly appreciate your support!
If you’ve been dabbling in the wonderful world of cookie decorating, you’re likely facing a need for a fantastic royal icing recipe.
Let’s face it. Royal icing gets a bad rep.
Sometimes, people turn their nose up to it because they think ALL royally iced cookies are going to have a bite hard enough to break a tooth. While that’s the case for some recipes, it’s NOT with the one you see here. There are a few things added that help give this particular version a soft, enjoyable, yummy bite.
Time to gather your ingredients and measure them out:
- 5 tablespoons of meringue powder (I love WILTON MERINGUE POWDER, but there are many different brands out there you can find online or at craft stores.)
- 1/2 – 3/4 cups of water (The amount here is dependent upon which royal icing consistencies I’m aiming for from the get go. I’ll explain more below.)
- 2 heaping teaspoons of flavoring (I’m obsessed with this LORANN’S BUTTER VANILLA EMULSION in my royal icing, because it gives it such a yummy taste. However, you can use whichever flavoring you like best here.)
- 1 heaping tablespoon of LIGHT CORN SYRUP (This is the ingredient that gives it more of a soft bite.)
- 2 pound package of powdered sugar
Instructions:
*If you’re more of a visual person, I have a video tutorial on preparing this recipe linked below for your reference.
- In the bowl of a STAND MIXER (you can use a HAND MIXER, but a stand one is easier here), scoop in your meringue powder. I use the paddle attachment on my stand mixer.
- Then, pour in your water and whisk it for a few seconds with your meringue powder (If you need a stiffer consistency for your cookie set from the get go, for piping florals for example, use 1/2 cup of water, plus 1/8 cup more. If you don’t need to pipe anything stiff within your cookie set, which is 90% of my cookie designs, use 3/4 of a cup. The less water you whisk in, the stiffer your base icing will be. *See photos below for visuals on this concept.)
- Next, pour in your flavoring and corn syrup and give the mixture a whisk.
- Last, pour in your powdered sugar.
- Start the mixer on low (unless you want a sugar bomb to blast in your kitchen), and mix until incorporated. Turn the mixer up higher and let it mix for a good 3-4 minutes, or until you begin to hear that “frothy” sound.
- From here, you can scoop out and begin coloring it, or you can put it in some storage to keep for later. It literally lasts for several months! Technically, it doesn’t need to be refrigerated, but I store mine in baggies in there for future use.
- TIP: When you’re mixing your icing, make sure you keep a damp cloth over the bowl so it doesn’t crust over.
Video Tutorial:
That’s it! This icing recipe hasn’t failed me yet, and I’ve created SOOO many sets using it.
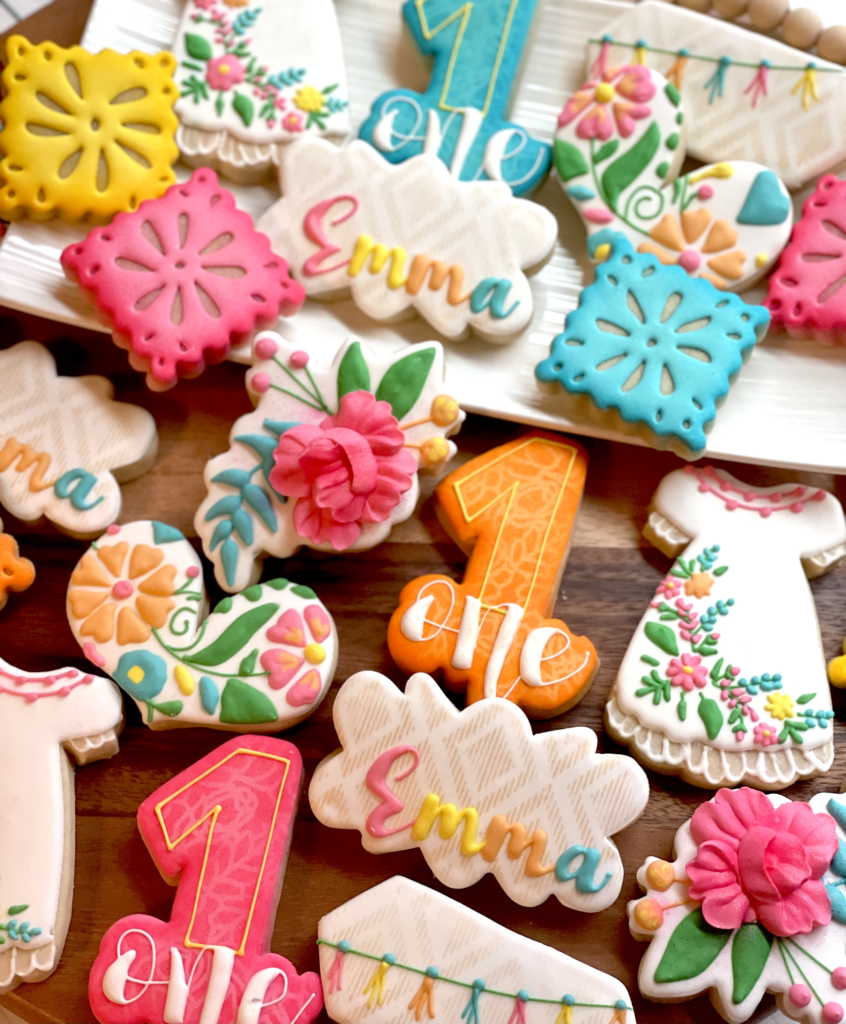
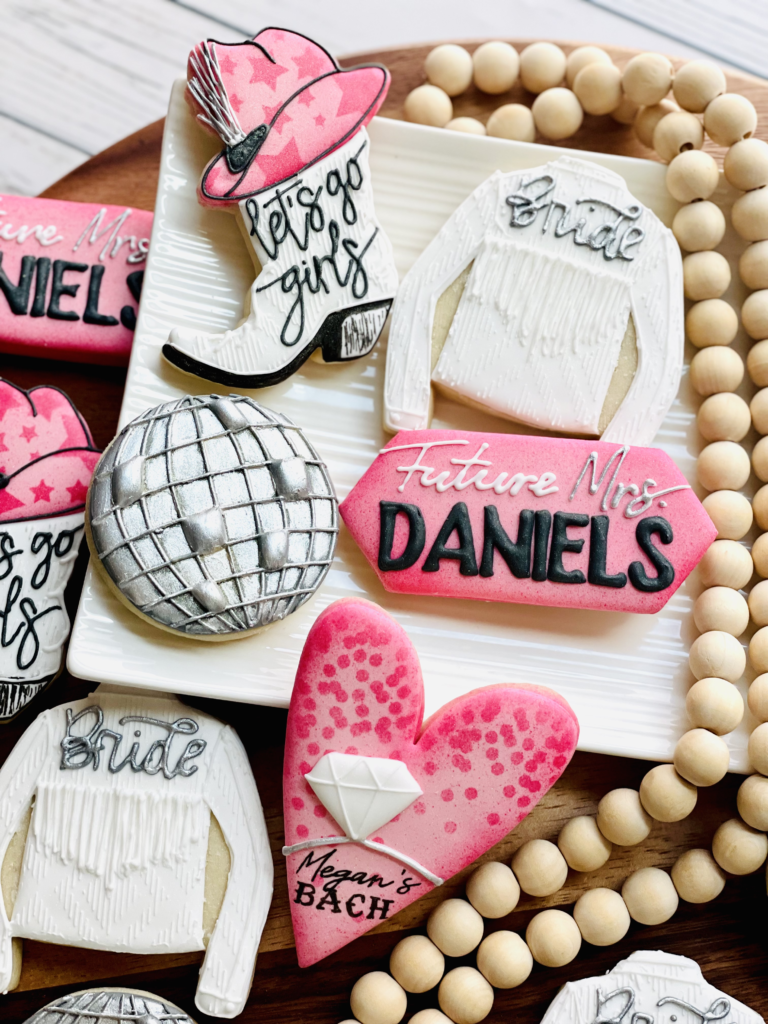
*These photos demonstrate the different measurements of water I used in the recipe. For example, the sets that contain florals, I used less water in the base recipe. The sets that don’t have florals, I used more water in order to begin with a less thick base. Even when I use less water for a stiff base, the bite is still softer than any other recipe I’ve used!


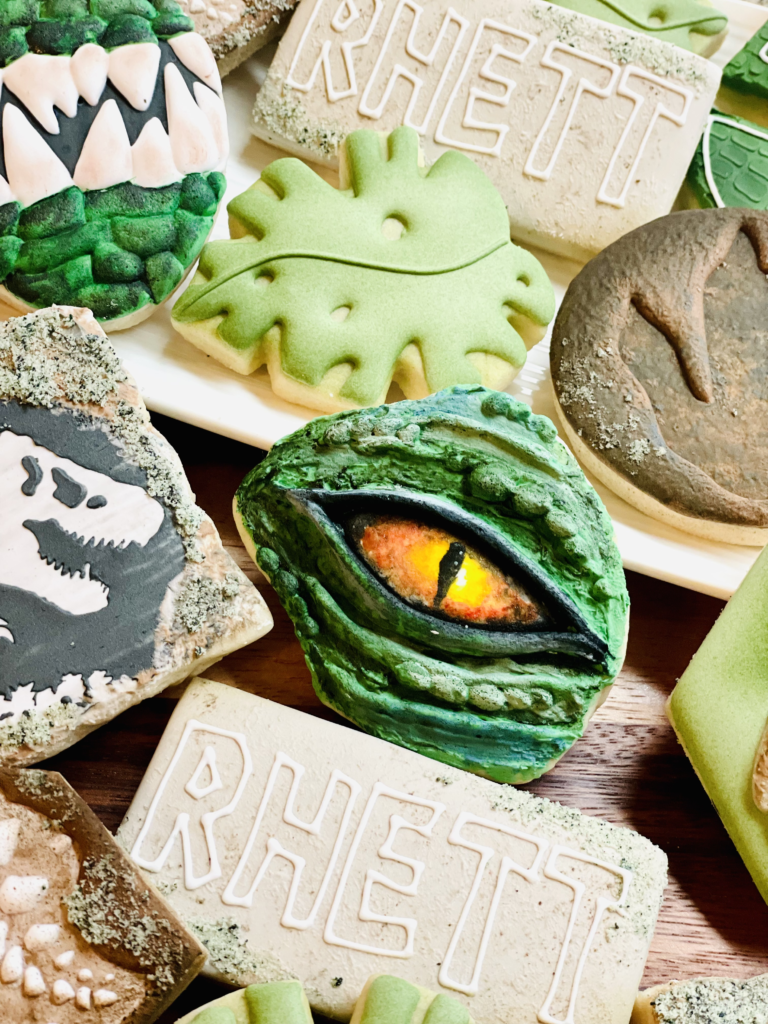
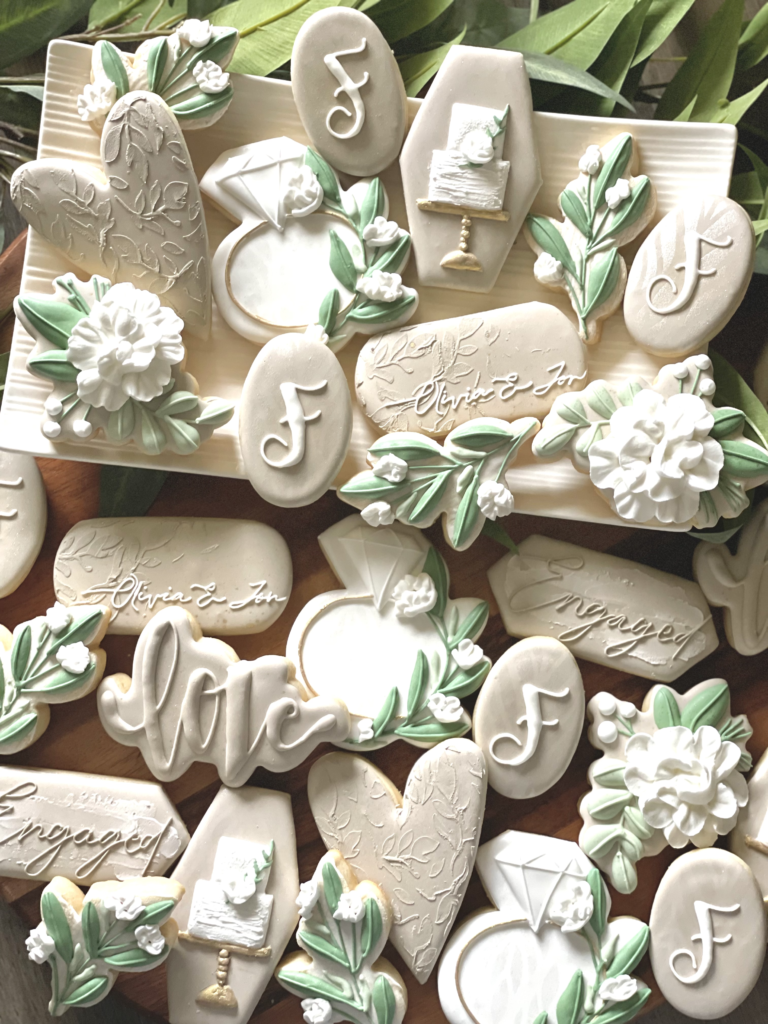
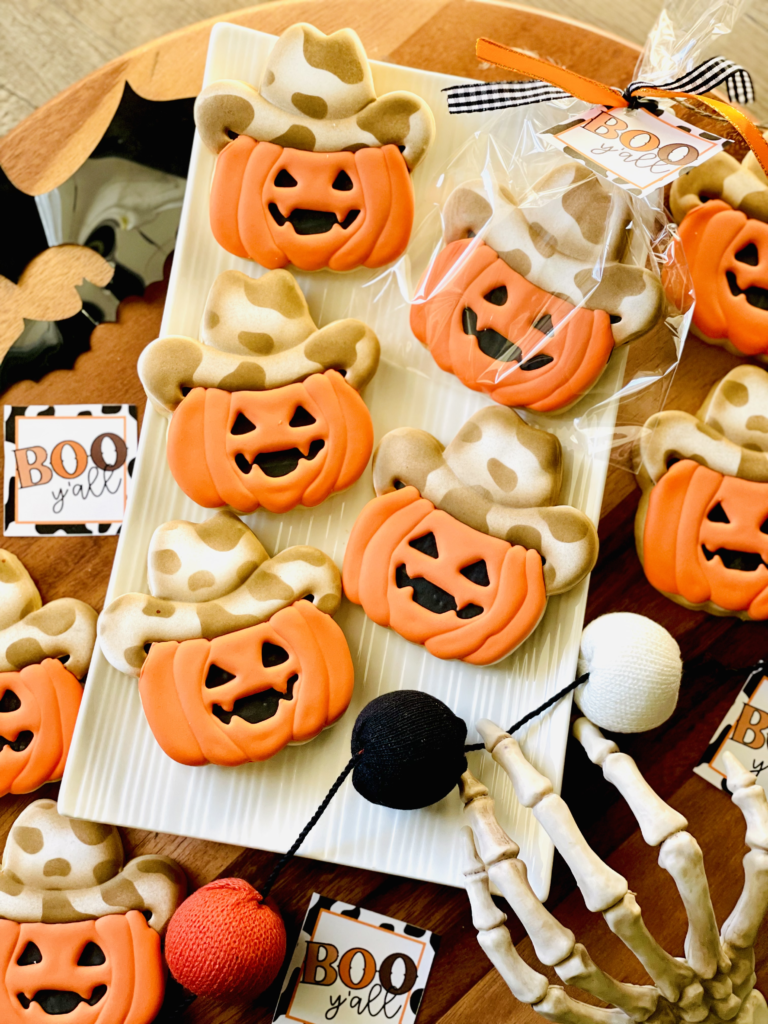
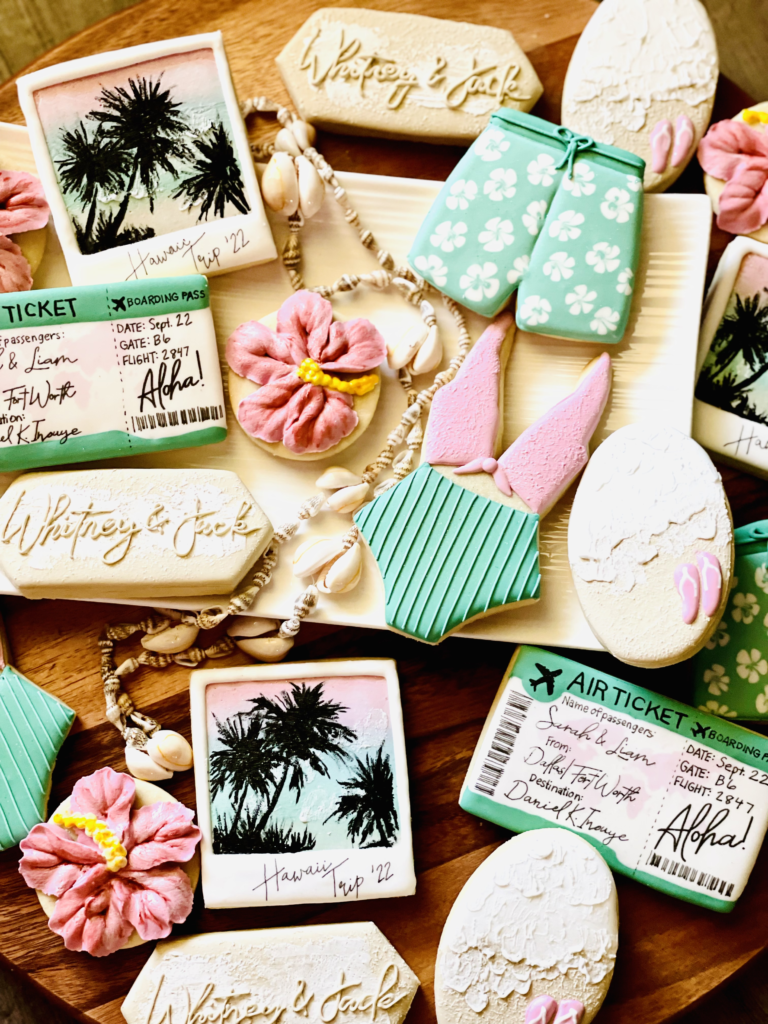

If you need help with royal icing consistencies, please stay tuned to my site! Soon, I’ll have a whole post dedicated to that with tutorials.
If you liked this post, you may also like the following posts containing related information. Just click on the posts below to reference them. Happy baking!
