As a seasoned cookie decorator and cottage baker, I have accumulated so many tools and supplies.
Like, ALL. THE. THINGS.
So, where and how do I find space in my tiny house for all that stuff? Well, with a little planning, patience, and lots of sweet-talking my husband, I created what I call “My Happy Place”.
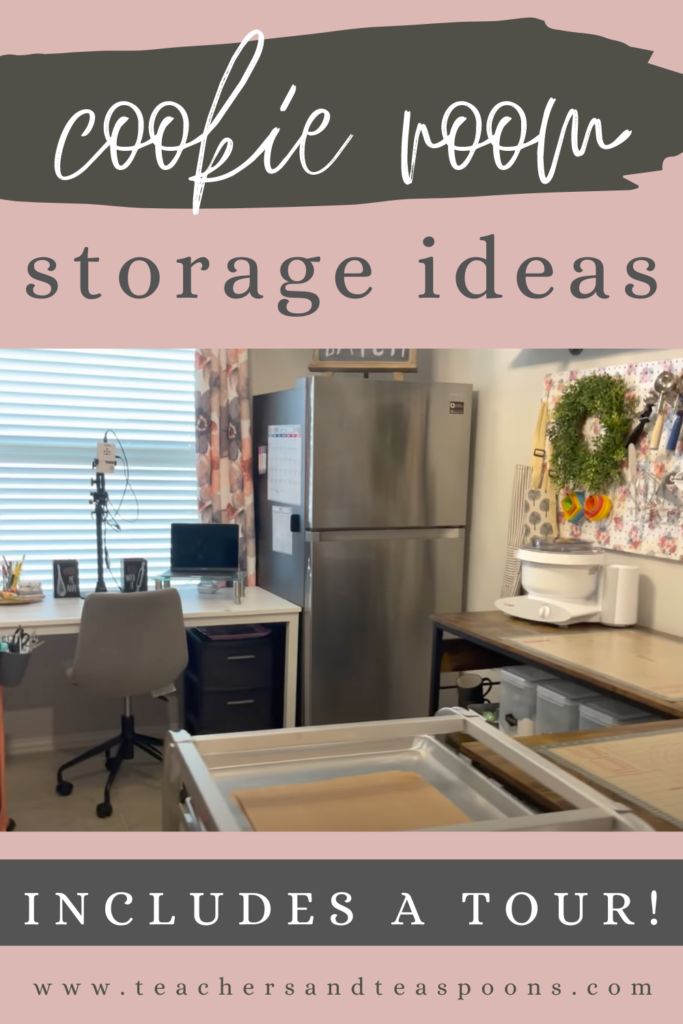
I have my own in-home cookie room, y’all!
I converted our rarely used dining room into my cookie/bakery space. Like I said above, it took A TON of planning, product research, gathering, measuring, organizing, and all of the things that create headaches. BUT…it was well worth it. Below, I’m going to give you a tour of my cookie space with some budget friendly storage/supply ideas that, I hope, can help you in some way if you are thinking about taking this exciting leap!
This post contains affiliate links, which means should you choose to click and make a purchase, I may make a small commission at no extra cost to you. I truly appreciate your support!
First, in my best realtor voice, let me give you the grand tour (see YouTube video below), because that’s more fun, right?
More detailed information regarding my set up and items you see will follow this video.
Many a cookie has been mixed, rolled, cut-out, decorated, and packaged in this room.
(All the baking is still done in my kitchen, which is just a hop, skip, and jump away from this room!)
What worked best for me when planning out my limited cookie room space was breaking the room into three specific areas of use: DOUGH PREP, DECORATING, and PACKAGING.
DOUGH PREP AREA
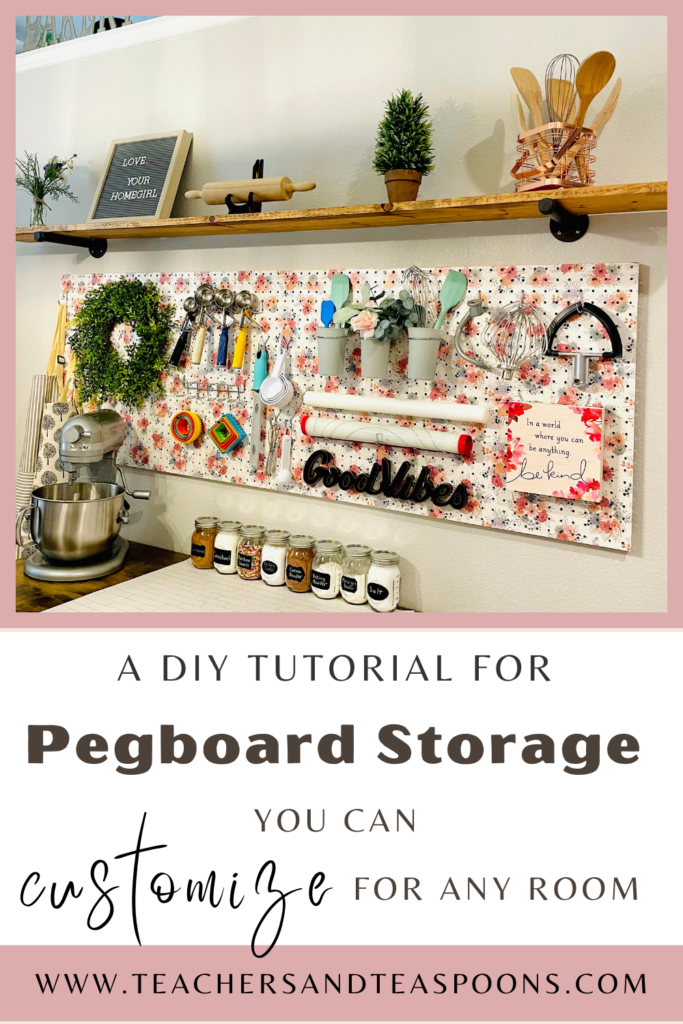
In this area, I wanted a storage system that was not only functional, but aesthetically pleasing as well. This PEGBOARD STORAGE IDEA came to my rescue and just might be my FAVORITE part of my cookie room. As you can see in the photos below, I customized a pegboard with a floral pattern that fit my color scheme. It holds SO MANY of my dough prep tools, AND it’s a space saver hanging on the wall. I don’t have to rummage through extra bins and shelves to find my tools.

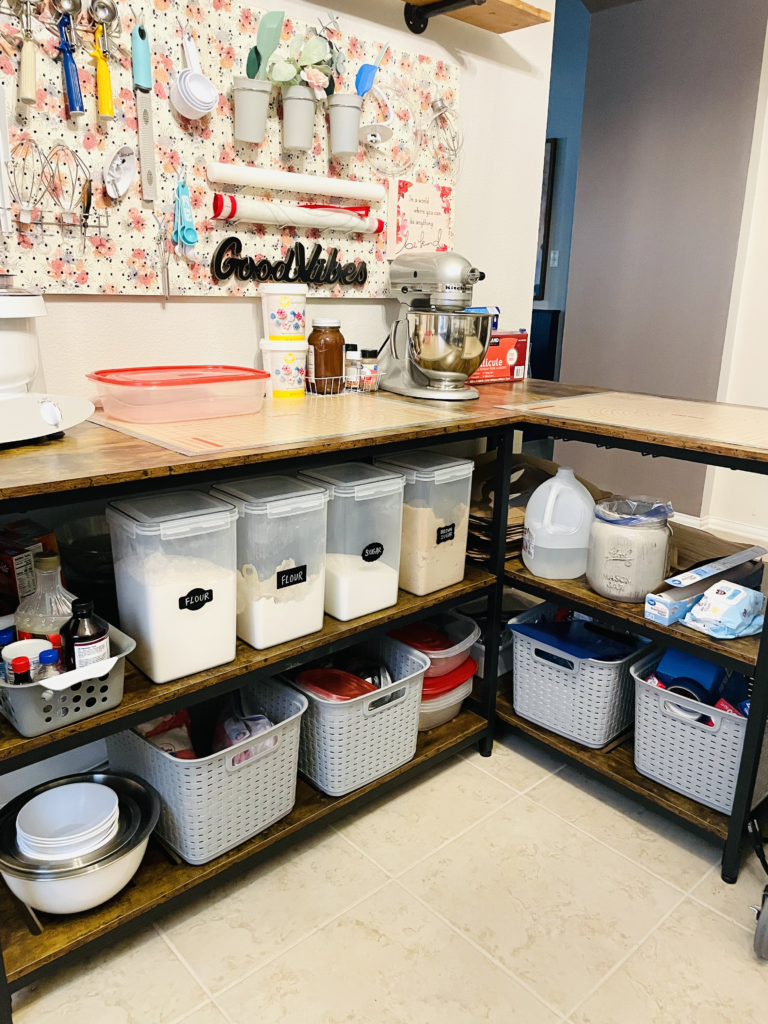
It’s functional AND beautiful! *HINT: find a way to “decorate” with your tools, cake plates, and ingredients like I did in the video. It saves SO much space!
Some of the products I use for storage and other functions in my DOUGH PREP AREA can be found in the list below.
- These PEGBOARD HOOKS came in handy when I wanted to design my pegboard area with my baking tools. I have plenty left over should I need to interchange any of them or decide to get crafty with another pegboard system in another room!
- I love these AIRTIGHT CONTAINERS that I use for my flour (two containers worth), granulated sugar, and brown sugar. They aren’t too big or bulky, and they keep my ingredients nice and fresh. I just open, scoop what I need, and go.
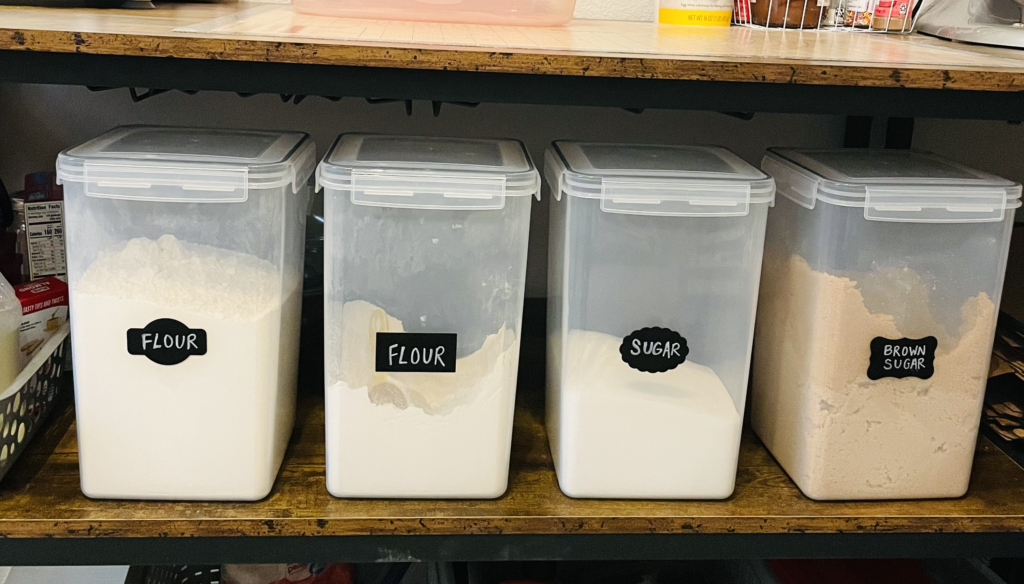
- Have you ever stored your brown sugar, went to use it, and it was hard as a rock? These BROWN SUGAR TERRACOTTA DISCS are kept in my brown sugar container and keep it soft. You just have to “freshen” them every two months or so. Super easy peasy!
- Let me tell you something about this BOSCH mixer. HOLY COW, can it hold a LOAD of dough! I can do quadruple sugar cookie dough mixes in this baby at a once, which saves me so much time. I will never use any other mixer than this one when it comes to dough. It’s a TAD of a learning curve, but you’ll pick it up so fast. Just make sure you mix your dough with the dough hooks and included expander from start to finish rather than the cookie paddles, and you’re golden.
Just look at her go! This was a quadruple amount of snickerdoodle cookie dough.
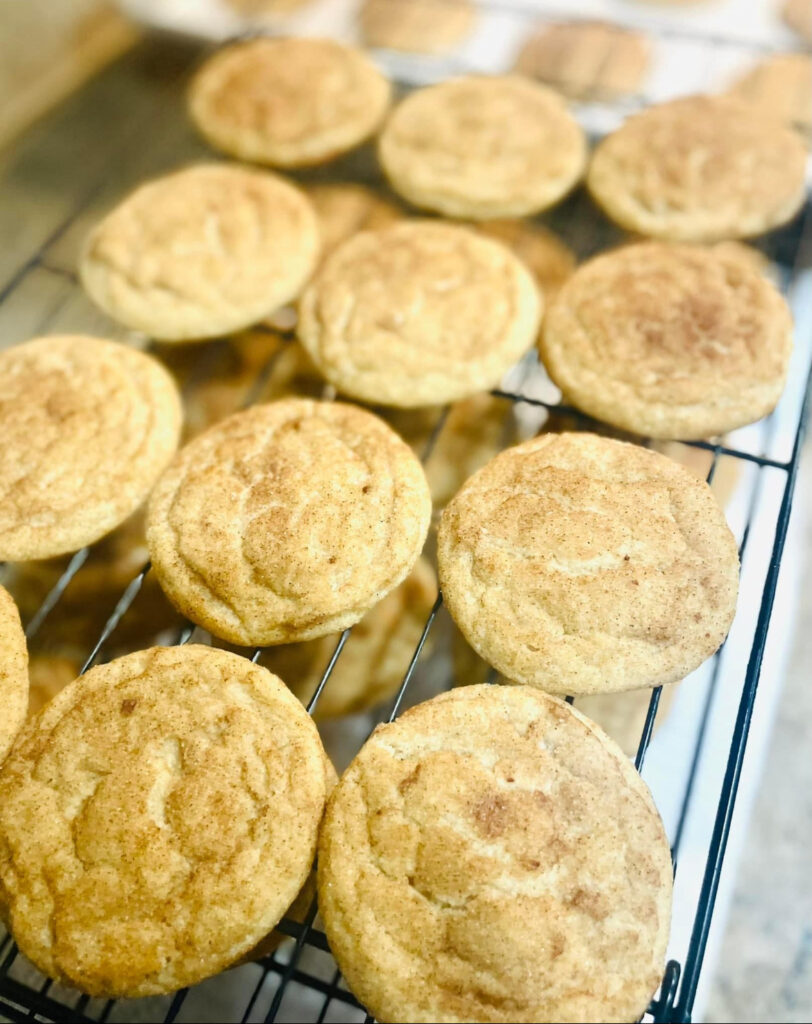
- This KITCHENAID is the stand mixer I used to start my cookie decorating business. It is great, but it can’t handle NEAR the amount of dough as the Bosch. That is why I use this one still for single dough mixes and icing mixes. It still works like a charm and fills a different need!
- NON-SLIP PASTRY MATS certainly help my dough prep area. As you can see, I use two of them to cover a large surface area of my dough mixing tables. It keeps things in place as I prep, and it is a super fast clean up.
- These are the PERFORATED BAKING MATS I use on my cookie sheets when I make cut-out sugar cookies. It helps them bake more evenly AND gives them that beautiful, basket-weave pattern on the bottom. I don’t use these for my drop cookies, though. It’s still good ‘ole parchment paper for those cookies. *See video for how I store these babies.
DECORATING AREA
I also call this “The Fun Station”. This is where I bring my cookies to life and decorate them! In addition to decorating cookies here, I answer emails, update social media, take photos of sets (nice lighting from that window), and other “office-y” type work.
Some of the products I use for storage and other functions in my DECORATING AREA can be found in the list below.
- My white DESK has served me so well. It’s the perfect size for what I need in this area. I just keep a desk mat over the surface to keep it more tidy since it’s white (food gels and white things don’t mix well, ha).

- This PROJECTOR is the same one I’ve used for 5 1/2 years of cookie decorating. The only time I need to move it from this area is when I take photos of my cookie sets. Otherwise, it stays right there! I used to have to take out my projector from a cabinet, set it up on my kitchen counter, decorate, then take it back down and store it as it got in the way of my family. It was SUCH a pain!
- For my projector, I now use this particular MOUNT since it has more functions (holding phones to film videos, etc). It was a little splurge, but I love it.
- I have been using a cookie PLANNER like this since I began. I’m on my sixth planner! I only keep cookie orders in this planner, and I love that it has so much note space to record all order details. I’m a pen and paper kind of gal, so this system works perfectly for me.
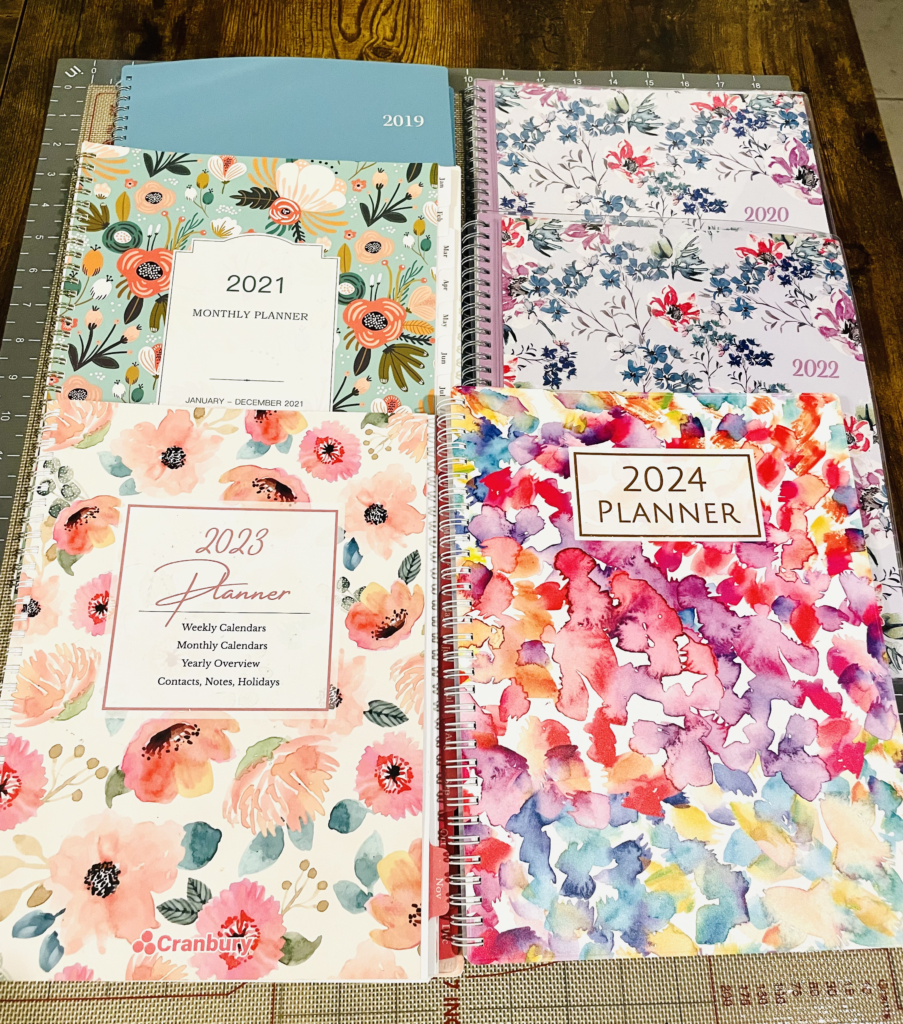
- I also keep “a month at a glance” up and readily visible with this MAGNETIC CALENDAR I keep on my cookie room fridge next to my desk. It’s updated each month with that month’s orders just so I can stay a step ahead.
- I have acquired just about every color known to man when it comes to FOOD GELS, and I wouldn’t have it any other way. There are times I have to mix several colors together to get a specific shade, but having specific colors to begin with has always been beneficial. I am a faithful user of Americolor gels. They are AWESOME!
- I have this ROLLING STORAGE CART in a coral color to match my cookie room, and it houses SO many things I use when I decorate cookies. It holds my food gels, paint brushes, icing bags, luster dusts, airbrush system, stencils, etc. I like to keep these items on a cart with wheels so I can roll it easily from my work desk to my dough prep station, where I also mix my icing colors. I do not mix colors at my desk (remember white desk + food gels = disaster?).
PACKAGING AREA
I’m a sucker for nice cookie/bakery packaging. So much so, I dedicated an entire area to this in my cookie room. I have SO many different bags in every size and shape. There are countless pouches, boxes, ribbons, and tags. To keep this area tidy, I knew I needed to have some efficient ideas for storage in this area.
Some of the products I use for storage and other functions in my PACKAGING AREA can be found in the list below.
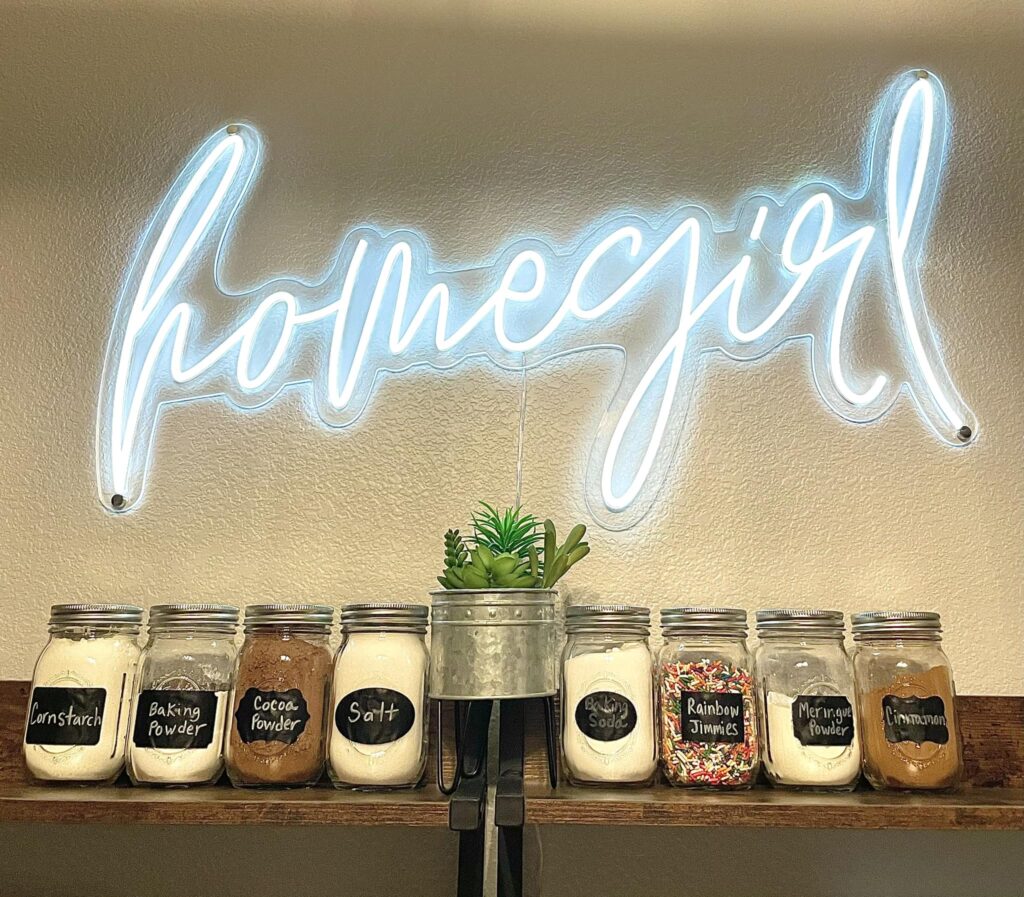
- By far, these PACKAGING STATION RACKS have been a few of my best purchases for my cookie room. They have shelves along the top where I keep more ingredients sealed in mason jars (there’s another example of how I decorated with things in my cookie room I also use on a daily basis) and a long pole you can unscrew to slide on ribbon, twine, paper towel rolls…you name it. Then, there’s a counter area to package with additional storage shelves underneath. The best part, though? It has a built in outlet! You plug the whole shelf into the wall, then that enables you to plug in two additional things per shelf. I’m a happy girl.

- This is where I keep my HEAT SEALER. I seal each and every sealable cookie that leaves my home during the packaging process. My sealer just plugs into my shelf and stays right there on the counter for easy access.
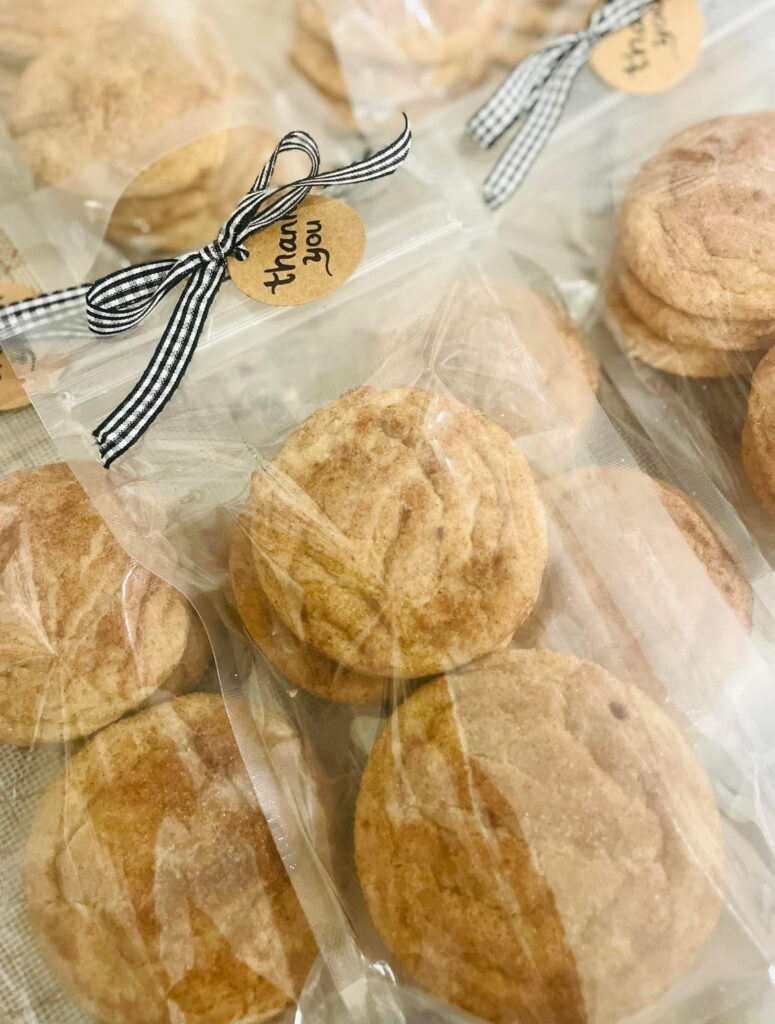
- I keep all of my cellophane bags in the bins below the counter on the shelf. For most sets, I use the following sized bags: 5 by 7, 4 by 6, 3 by 12. You can find more packaging supply ideas in my SUPPLIES NEEDED FOR DECORATING AT THE INTERMEDIATE LEVEL post.
- I use KRAFT SHRED inside my bakery boxes and place my sealed cookies on top of that before closing the box. This shred has gotten a bit more expensive, but buying it in bulk still seems like the cheapest way. I store it in a DOG FOOD CONTAINER similar to that and keep it underneath my work desk.

- Another splurge of mine was this LED SIGN that is my cookie business logo, HOMEGIRL COOKIES. This company provided AMAZING customer service as I worked with them to develop the sign specifications. They were prompt to reply, and they shipped it extremely well packaged to avoid any issues. I highly recommend them!
- *See video for ideas on how to store bakery boxes and other packaging supplies.

Again, please, PUH-LEASE, watch that tour video above for even more storage ideas that are not mentioned in this post. It will help!
I hope you guys found something useful here as you begin to set up your own cookie areas. It’s a lot of work in the beginning but, I PROMISE, it will NOT be a regret once you get your own space!
If you liked the post above, you may also like the posts below! Just click on the images.
