So, you’re getting the hang of cookie decorating. You’ve developed some bomb recipes that your family and friends devour. You’ve found a passion for baking and realize that maybe this talent of yours can turn into a little somethin’, somethin’ on the side. However, you must know this:
Customers will not magically appear knocking at your door ready to buy your goodies.
Cottage bakery owners don’t have the visibility luxury of brick and mortar establishments, so we are tasked to be a bit more creative when it comes to attracting potential customers. I’ve got one idea for you that I implemented in the beginning. Not only was it a HUGE HIT, it drastically expanded my customer base. I’ll spill the beans below…
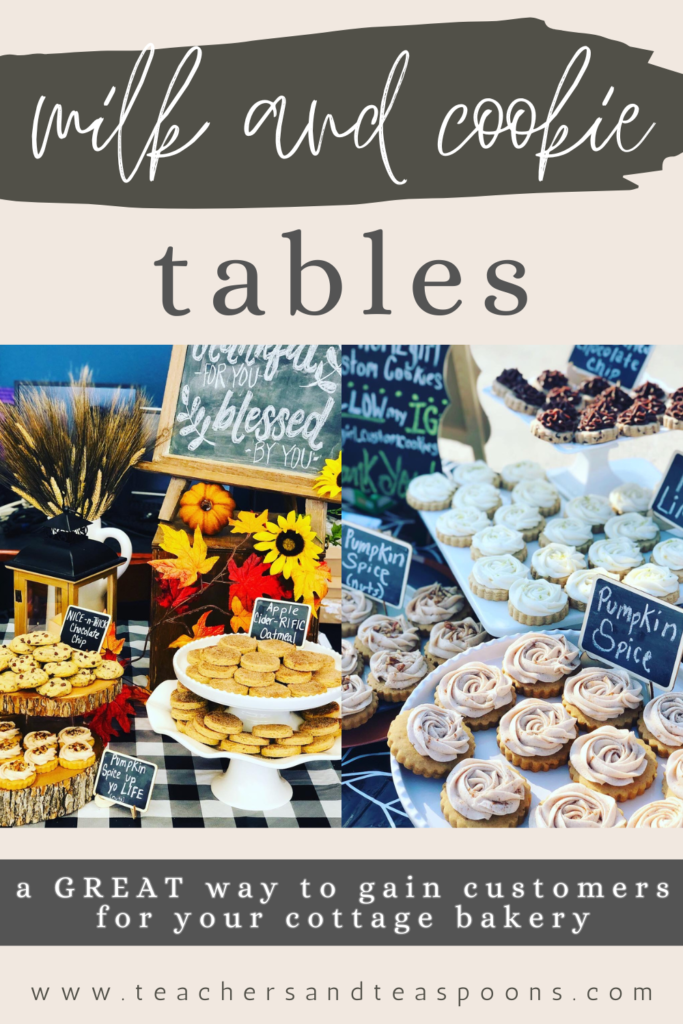
Setting up a milk and cookie table where people can sample your goods is a FANTASTIC way to get people talking about your little business.
Yes, you may be turned off by the fact you’ll have to bake these samples at your own cost and offer them for free. But, I PROMISE YOU…
The customers and word of mouth advertising you can gain from hosting a milk and cookie table in the beginning is MASSIVELY WORTH IT.
I cannot stress that enough! Not only did the order inquiries start rolling in, I was even hired and paid to set up ENTIRE milk and cookie tables at a few special events. Like I said above, massively worth it. Just simply do what you’re able to comfortably afford and handle. Let’s go over some of the ins and outs of how to set up a successful milk and cookie table below.
This post contains some affiliate links, which means that if you decide to click and make a purchase, I may make a small commission at no additional cost to you. I truly appreciate your support!
STEP 1: Decide on your time and place
- Think of a local place that gets a good amount of traffic. Your driveway, outside a business, at a school function, your town’s Little League park, etc. There are so many creative options. Just make sure you seek permission and/or any necessary approvals from the appropriate people (HOA, school staff, etc) before you move forward.
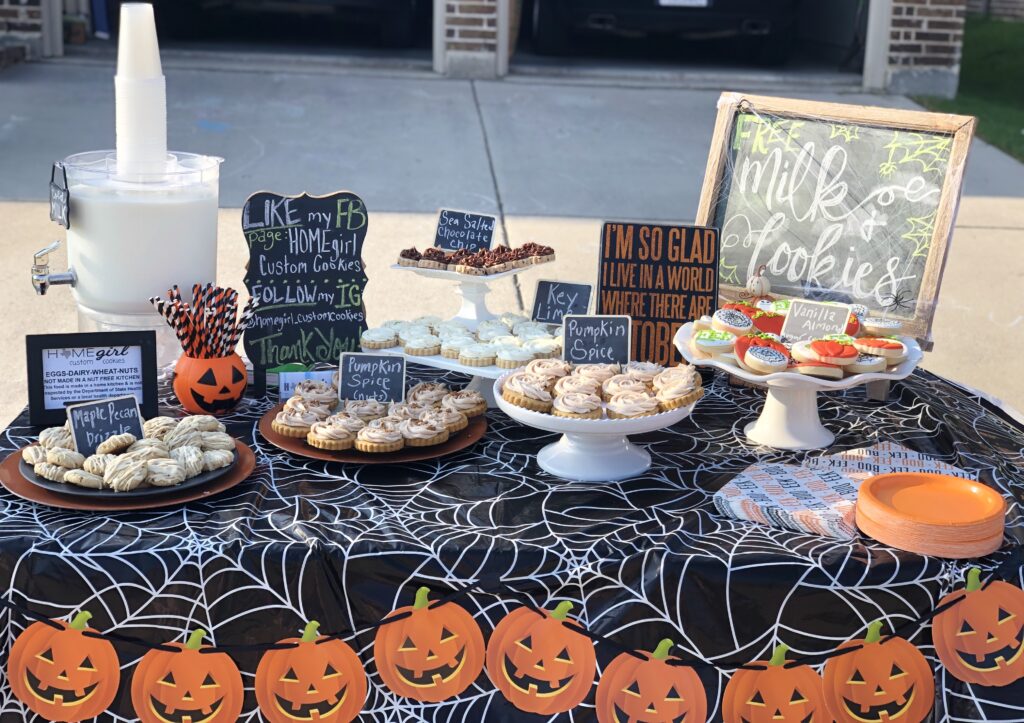
- I set my first table up in my driveway and posted an announcement on my neighborhood FB page to help increase traffic. I also posted a few cute yard signs at the cross street intersections into my neighborhood. It was a huge success!
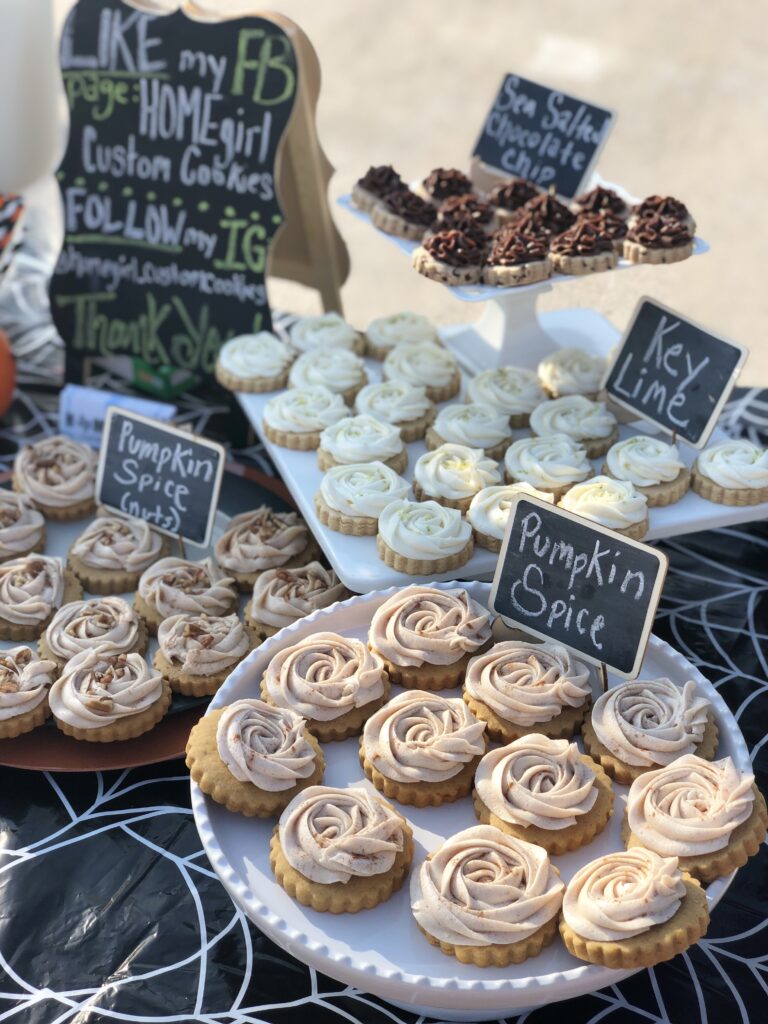
- Another table I set up was inside my kids’ school around Thanksgiving. The teachers and staff LOVED it!
- If I were you, I would shoot for a time around a special season or holiday. This way, you can decorate your table according to that theme, which makes it even more enticing!
STEP 2: Plan your menu
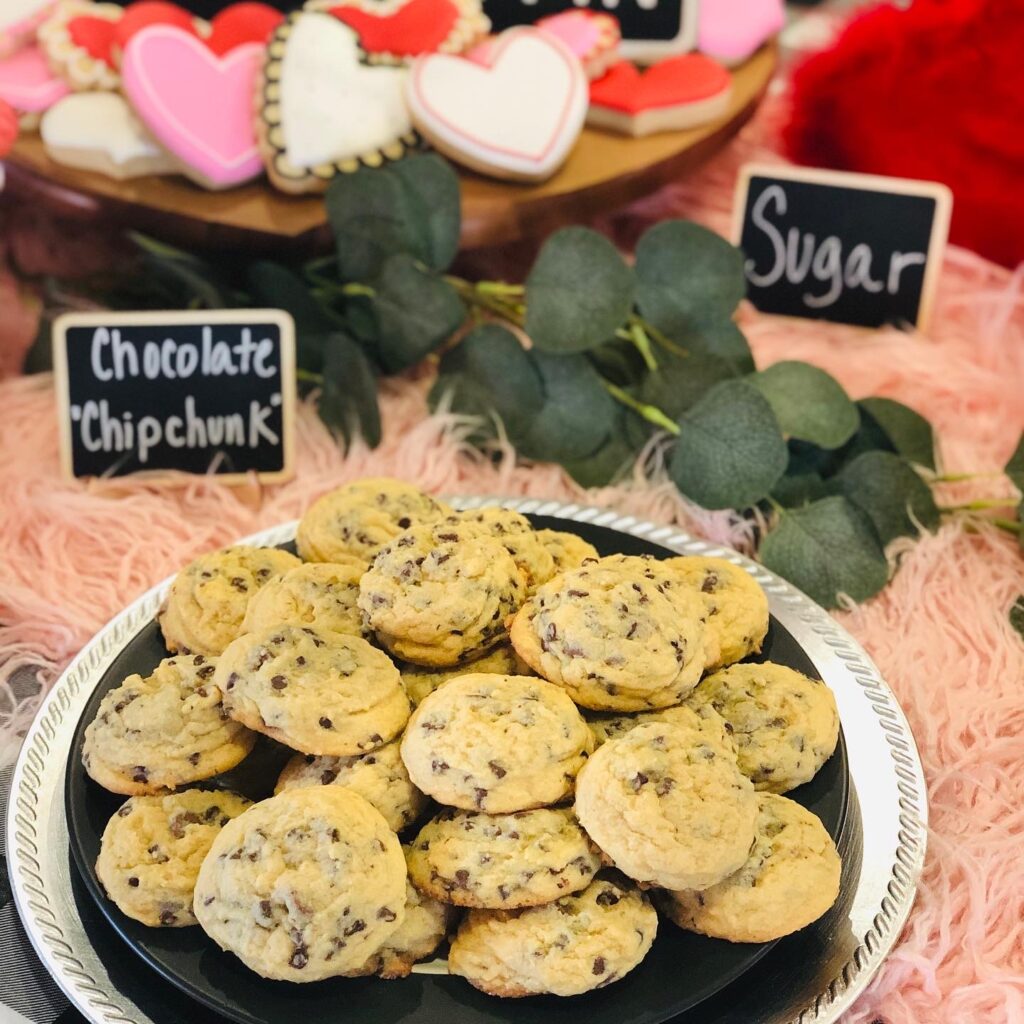
- You don’t have to offer everything under the sun, but I would definitely try to have more than a few things available for them to sample. Whether it’s just decorated sugar cookies in multiple shapes, sizes, and designs, or if it’s some decorated cookies plus some drop cookies, brownies, breads, etc, go with your strong points!
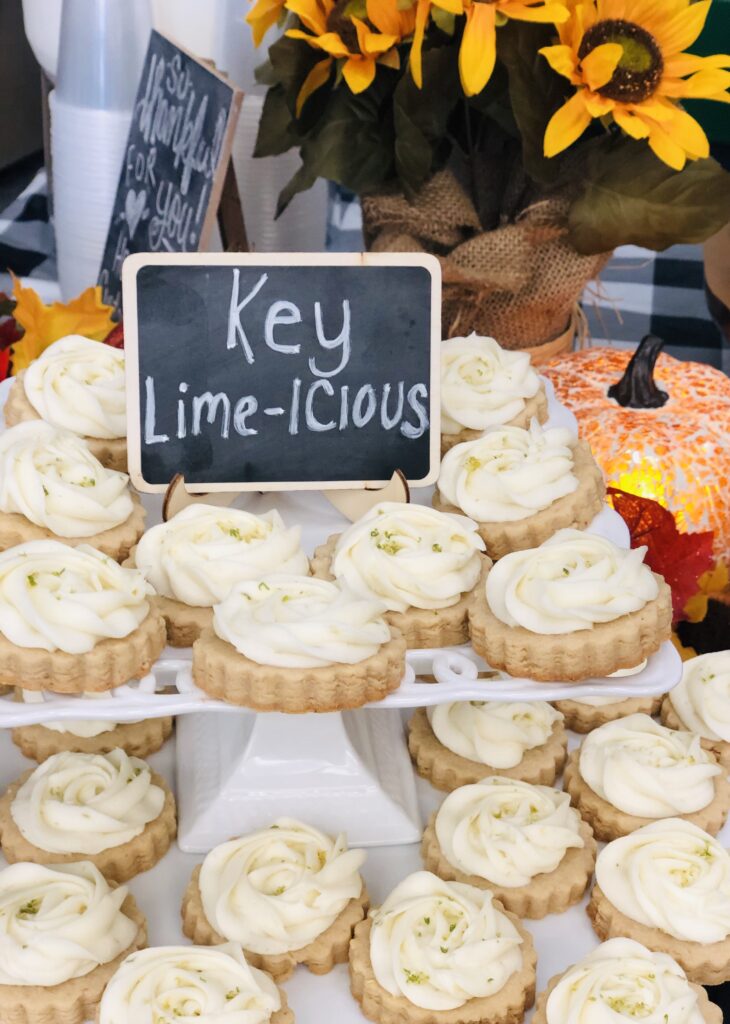
- When it comes to flavors for milk and cookie tables, there really are NO rules here. Make what you want your samplers to taste regardless of the season! (See above? I have key lime and pumpkin spice on the same table, lol!) I promise they won’t turn away a tasty cookie just because it isn’t a typical seasonal flavor.
- It is hard to guess the amount to make depending on your place of set up and the amount of traffic that is there, but you may start with 2-3 dozen of each item in sample size. Really, just make what you can handle. If it’s taken fast, great! If you have several items left over, you can donate them to fire departments, post offices, etc, for their employees to enjoy.
STEP 3: Plan your sample displays
- The first thing I’ll say here is: do NOT spend a ton of money at this step!
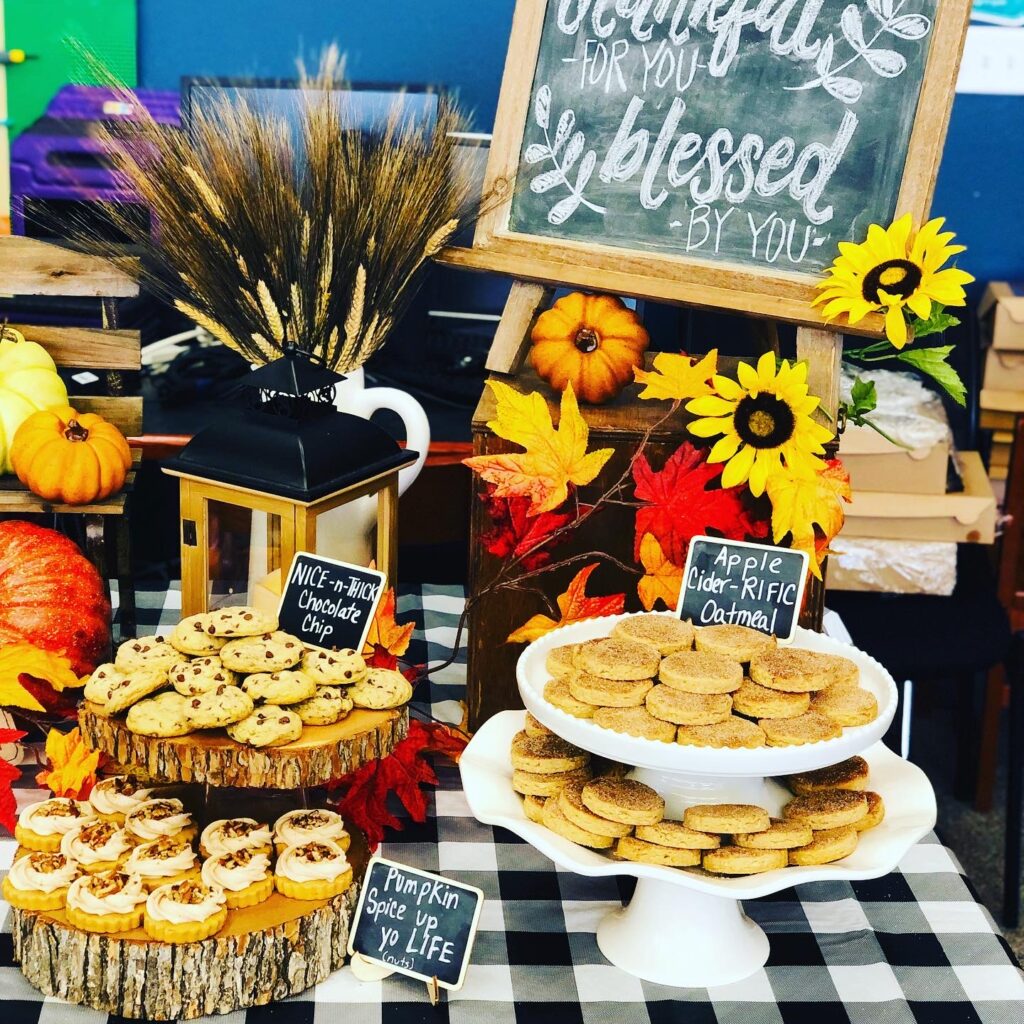
- Go through the platters, plates, and stands you already have in your kitchen and see what you can make work to display each of your items. If you don’t have something, I guarantee you a friend or family member will have something you can borrow. Get creative here! For example, I used some decorate wood slices to display some of my treats over a piece of parchment to protect them from touching the wood. It turned out so cute!
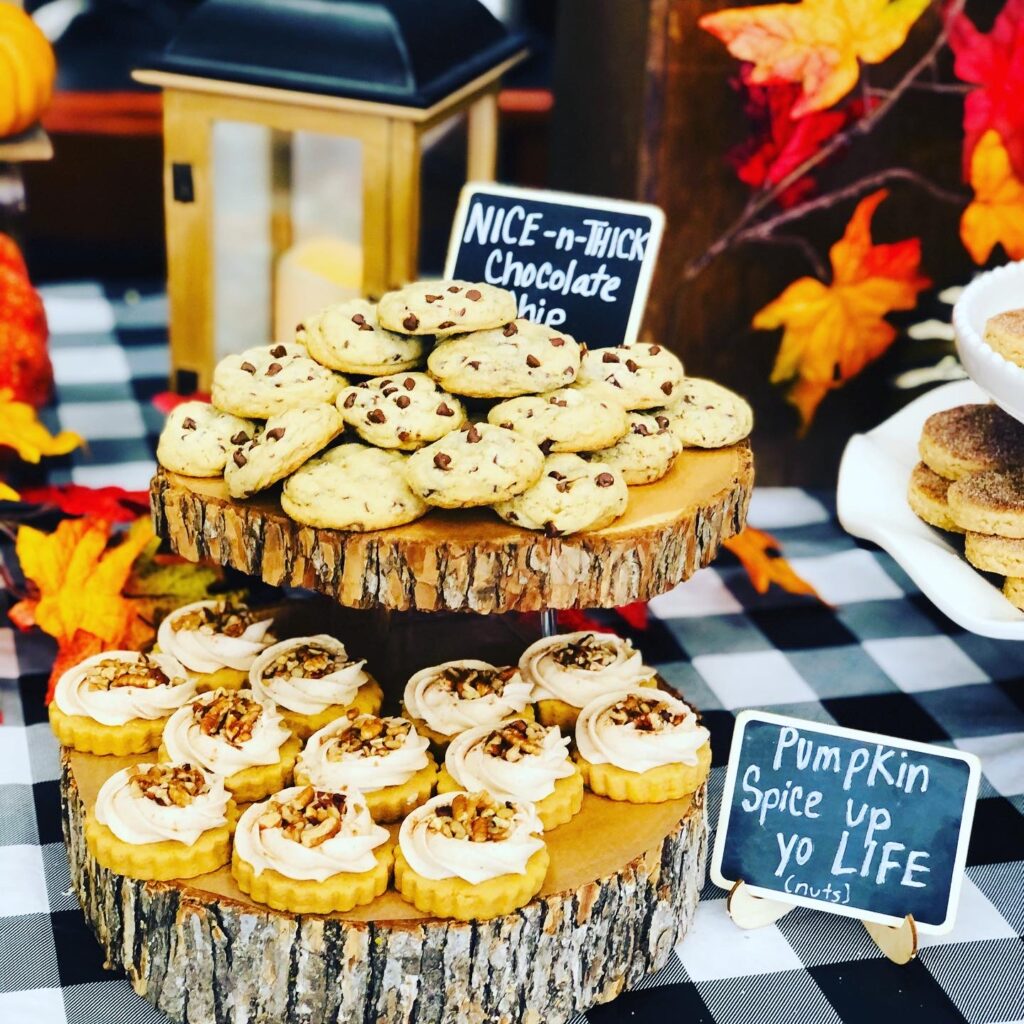
- You will need a sturdy table, too. I bet you can find one to borrow (I recommend at least 6 ft of space), or you could ask the business if they have one available if setting up shop there.
STEP 4: Plan your table decor
- You don’t need to go nuts here, but jazzing up your table with some minimal, themed decor items will certainly help entice people.
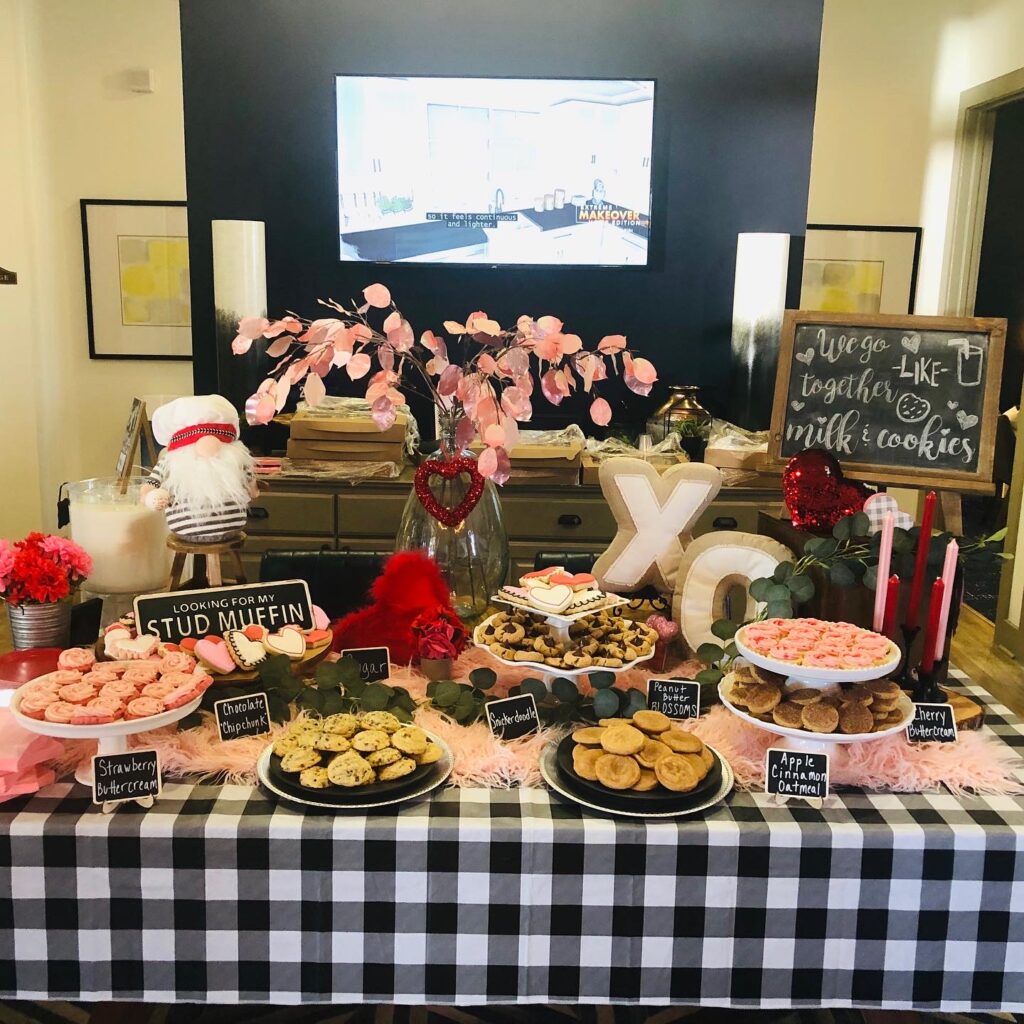
- First, check your house for any decor items you could use to fit the theme of your table. I use a vinyl, waterproof tablecloth in BLACK AND WHITE BUFFALO PLAID for all my tables. This tablecloth is durable and can be dressed to match literally any season and many themes. That’s why I opted for this style to reuse over and over. Just make sure it’s the correct size for your specific table. Here it is on a (paid) Valentine table I did several years ago…
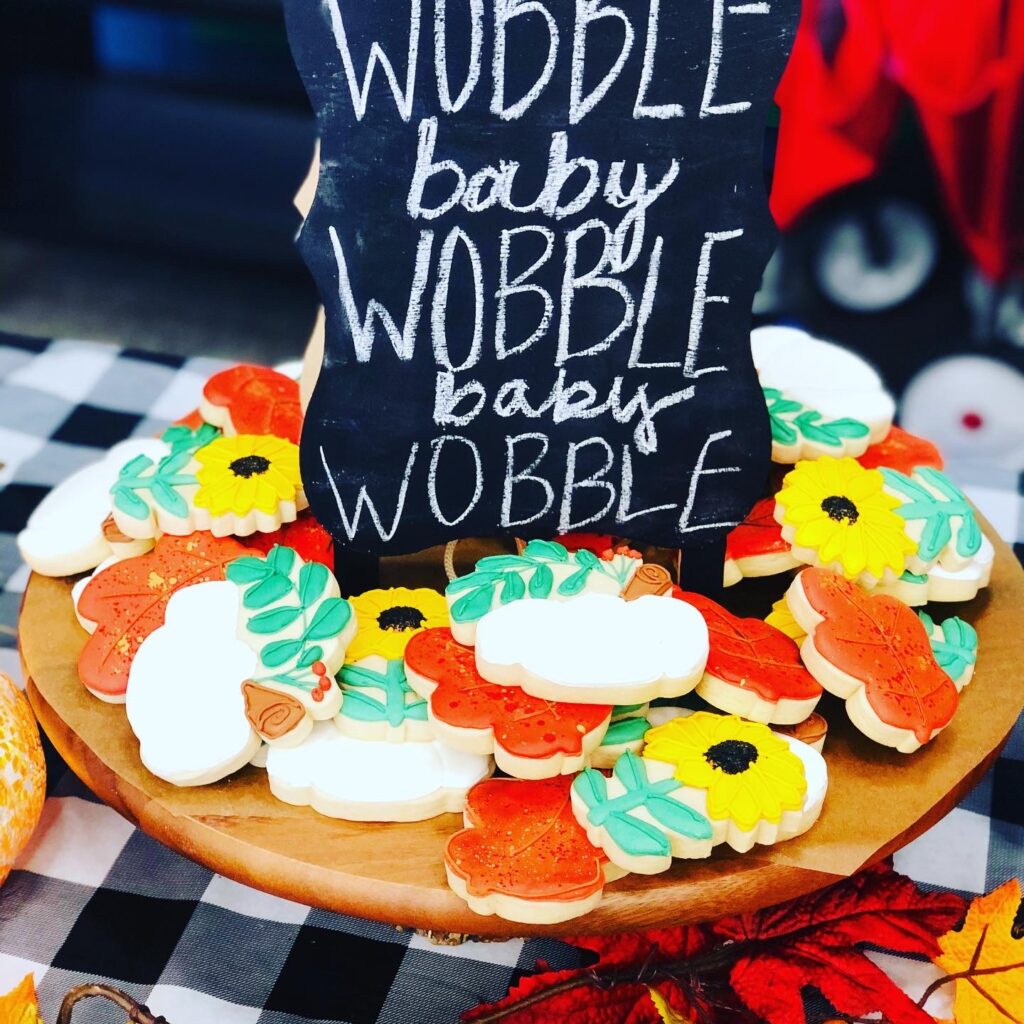
- I recommend having one BIG sign on your table that showcases a cute message related to your table. If you don’t have one already, a TABLETOP CHALKBOARD SIGN like that would work perfectly, be super versatile, and is pretty inexpensive with its included markers. Below are a few ways I used big signs with my tables. (Grad was a paid table).

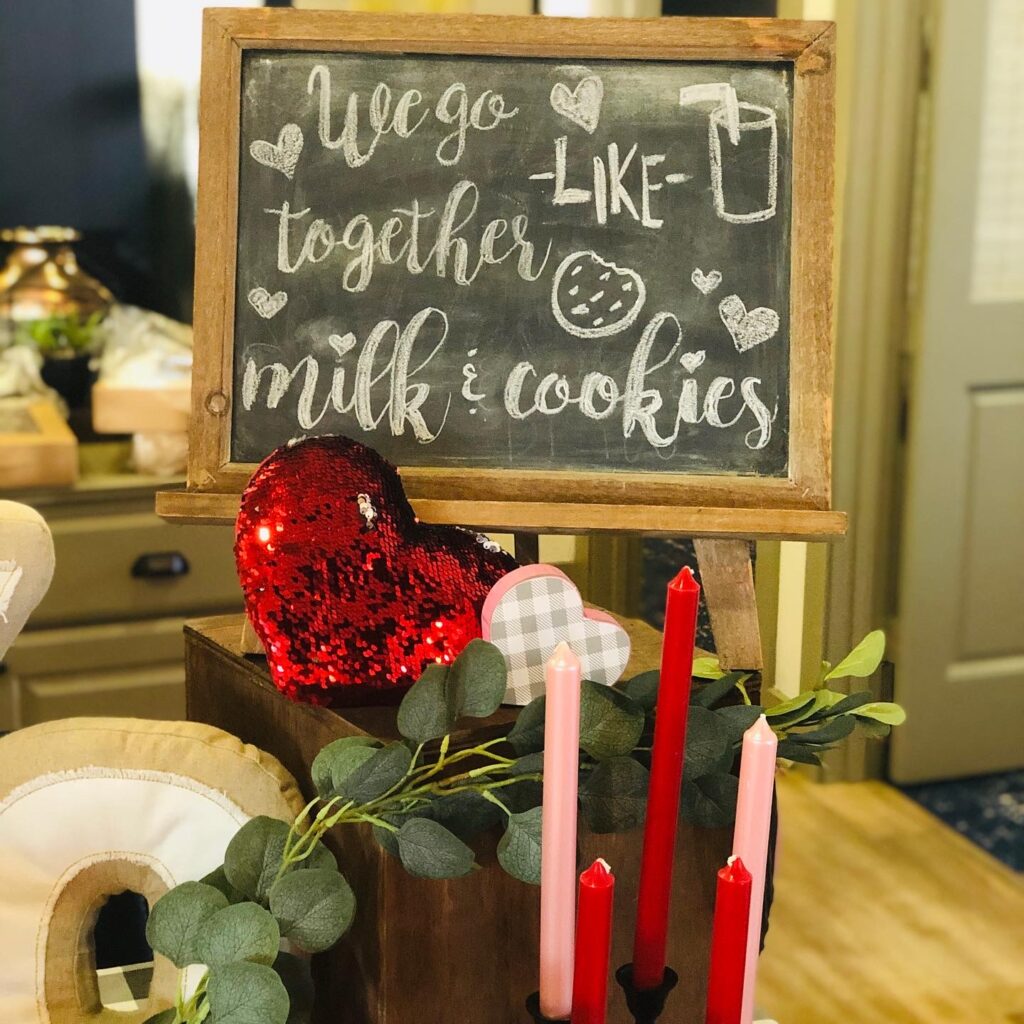
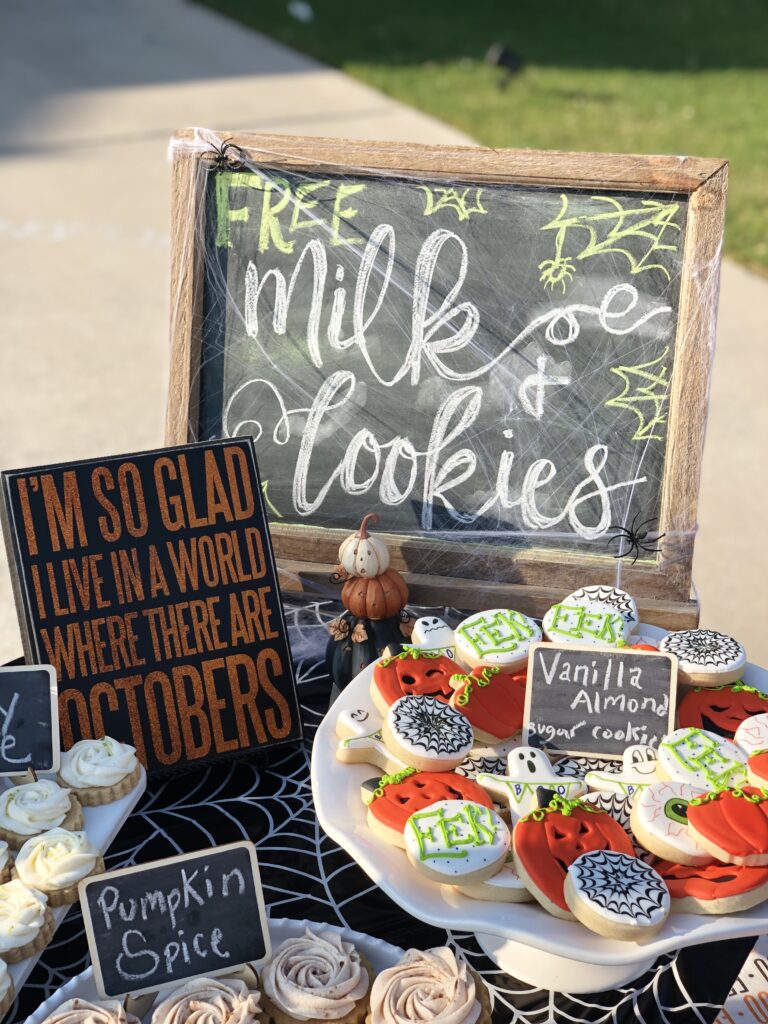
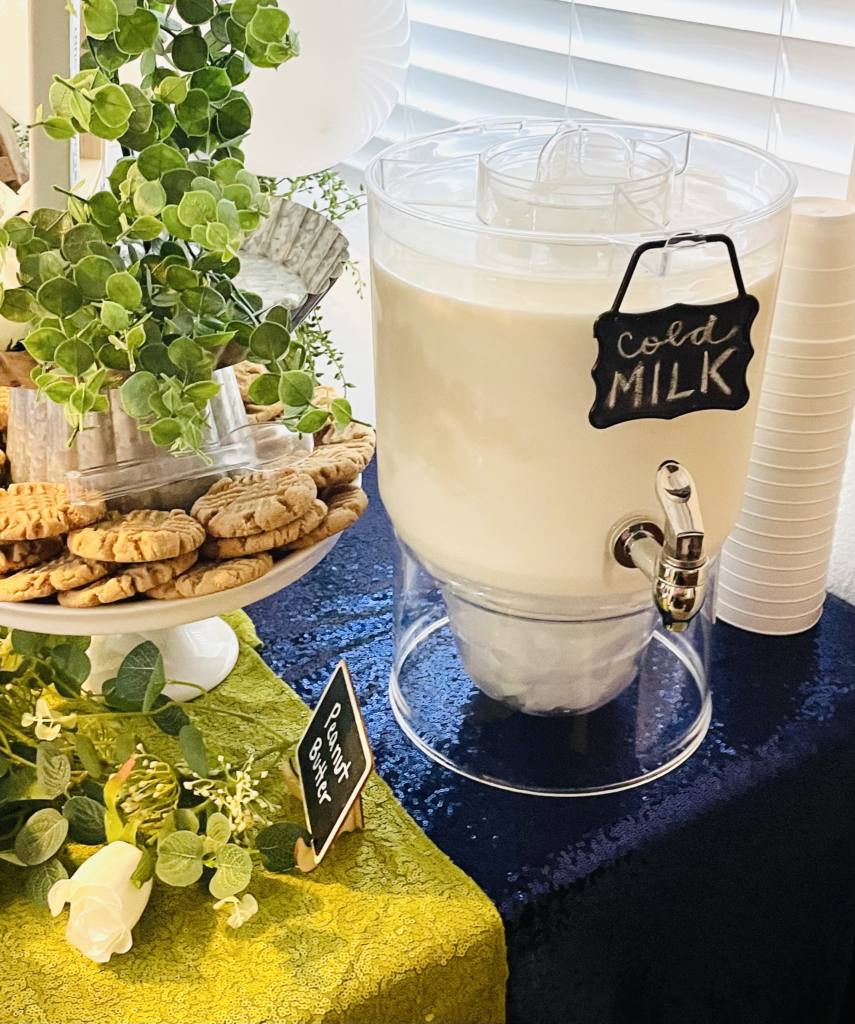
- I also would have some sort of eye-catching way to label your treats. I used these MINI CHALKBOARD FRAMES. They worked well, and I can use them over and over.
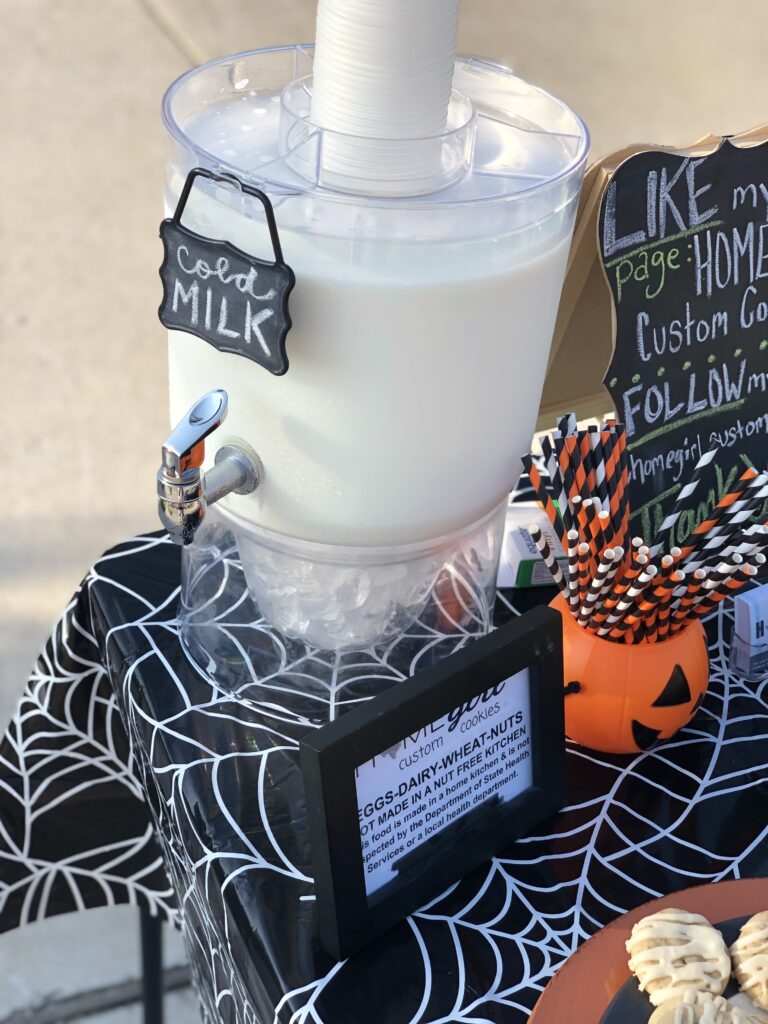
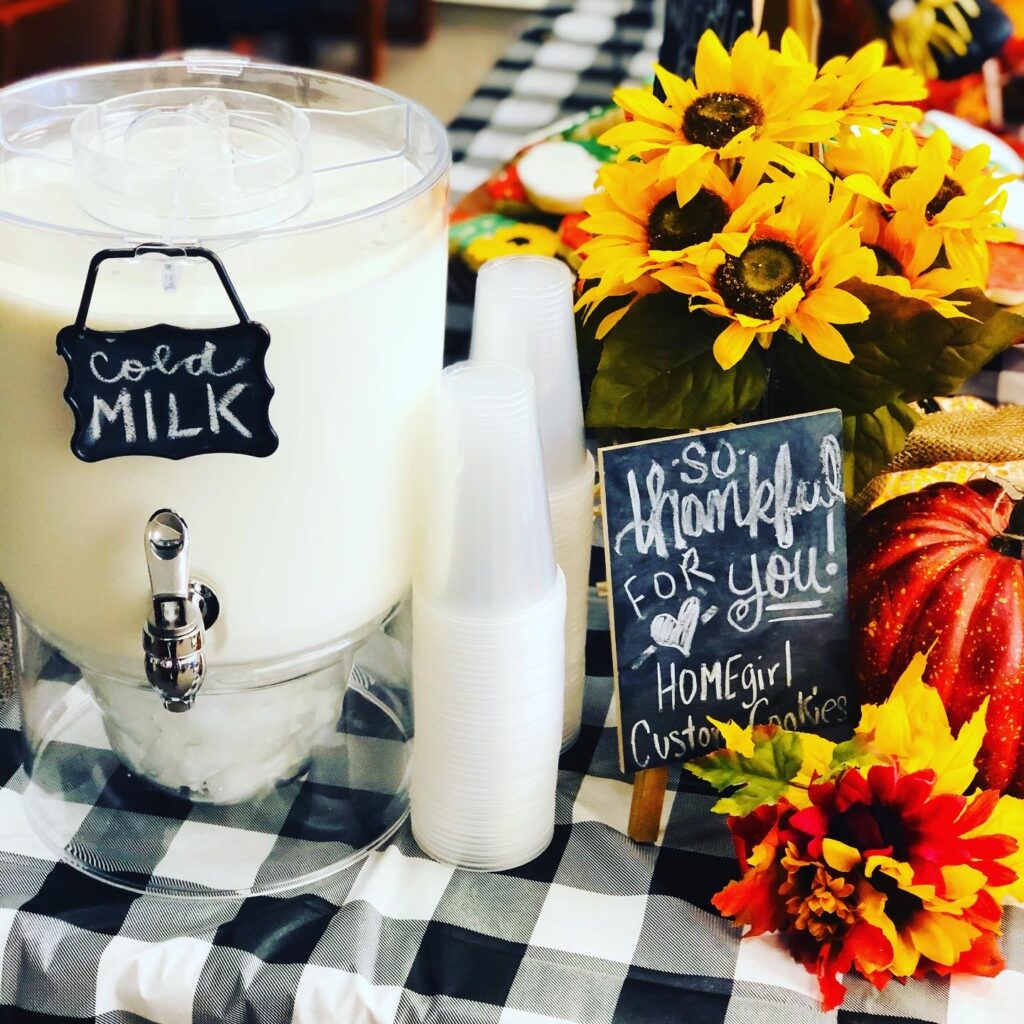
- You can’t forget the “milk” part of milk and cookies tables! Something will be needed to provide easy access to those who want some milk with their cookies. I used a dispenser very similar to this BEVERAGE DISPENSER. The ice core you insert into the middle kept the milk cold for hours without diluting it at all.
- Also, don’t forget to provide napkins, plates, cups, etc!

STEP 5: Get your business card and social media pages in order
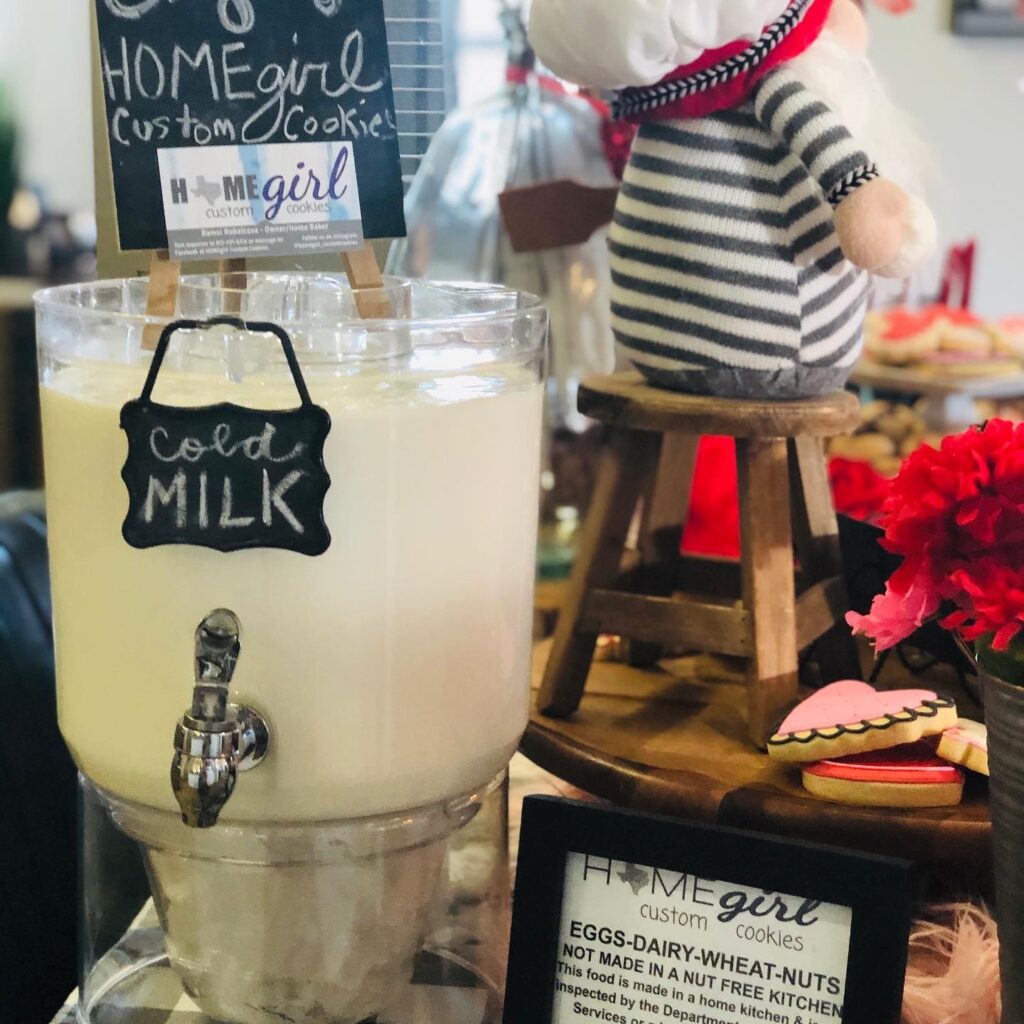
- This is an ABSOLUTE MUST! If you don’t provide your contact information and make it easily visible somewhere on your table, customers will not know how to reach out and place a future order.
- Your social media pages don’t have to be perfect yet, but PLEASE make sure they at least have some bones and a few photos of your work, etc. In the beginning, the majority of my orders came through my FB business page, so make sure you have something set up for people to reach you.
- Having business cards available for samplers to take can also greatly benefit you. Vistaprint has great deals on business cards, or you could even design your own in a program like Canva!
- It’s not required, but I would also post your base cottage food label. It makes you look more legit! You can see how I chose to display mine below.

A few more helpful tid-bits:
- Make sure you stand near your table and engage in conversation with your samplers. It’s great for your little business to have a face! Your table itself is a conversation starter, so don’t worry about those awkward silences, ha!
- You could also have some sort of giveaway contest to drive your samplers to your social media pages. Maybe they could enter for a drawing to win a free dozen of their favorite sampled flavor by liking your pages, sharing your posts, etc! Just another idea.
Again, make what you can handle without too much stress and watch your milk and cookie table efforts turn into paid orders.
Most importantly, have fun in this whole process! 🙂
If you liked this post, you might like some of the posts below. Just click on the images!
