So, you wan’t to learn how to decorate sugar cookies, eh?
Well, the good news is that you probably already have a lot of the things you need in your pantry to start.
However, there are a few other inexpensive things you’ll want to snag before you start this venture to make it the most enjoyable experience possible.
BUT WAIT! Before you start collecting items, repeat this after me:
Do NOT spend a lot of money on supplies at this stage in the game.
Did you get that, or shall I repeat it again?! I think (hope) you got it. Throwing a bunch of money towards something you aren’t even sure you’ll stick with yet is not a great idea.
You can get the basics of cookie decorating down with some minimal supplies that are easy to find and store. Once you’ve established a strong liking for the craft and/or develop a desire to learn even more with practice, THEN we can talk about investing in some more intermediate cookie decorating tools that are nice to have when you get to that point. Yes…it’s a process (but a freaking FUN one).
So, what supplies should you collect now to help you kick off your cookie decorating journey?
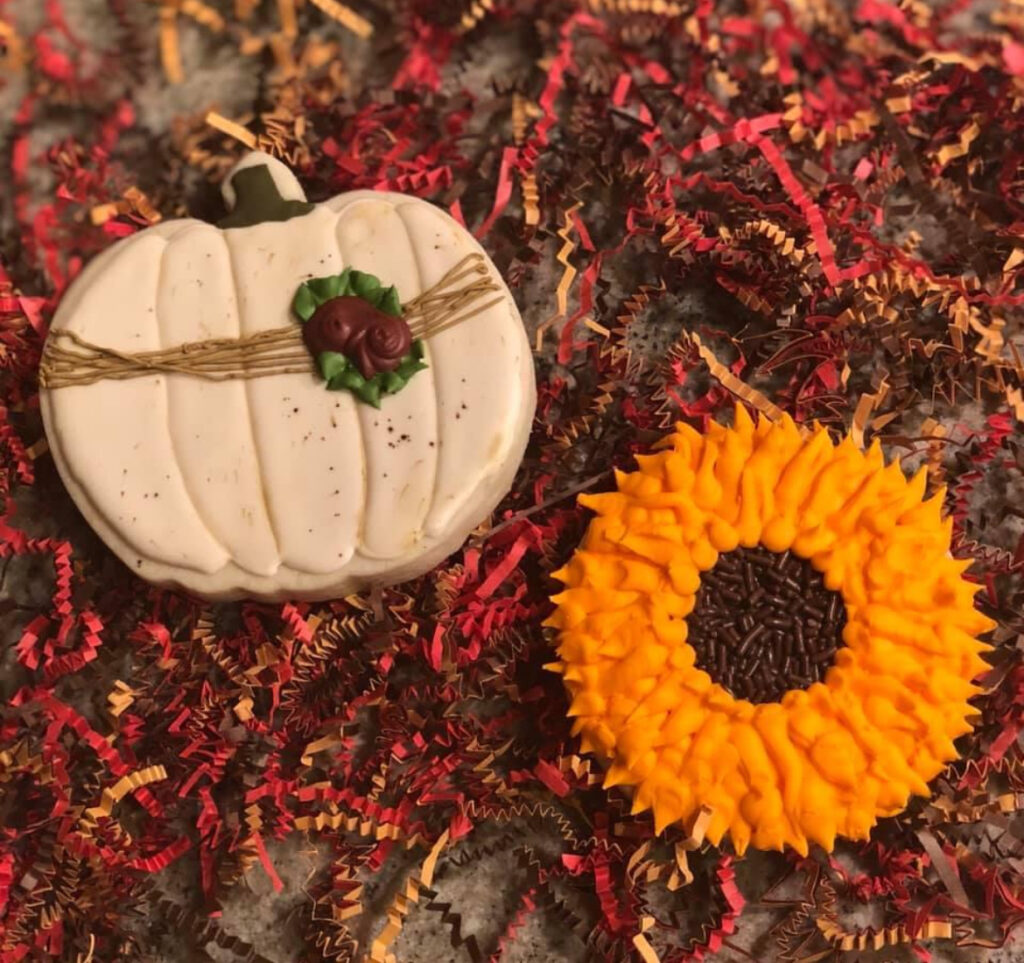
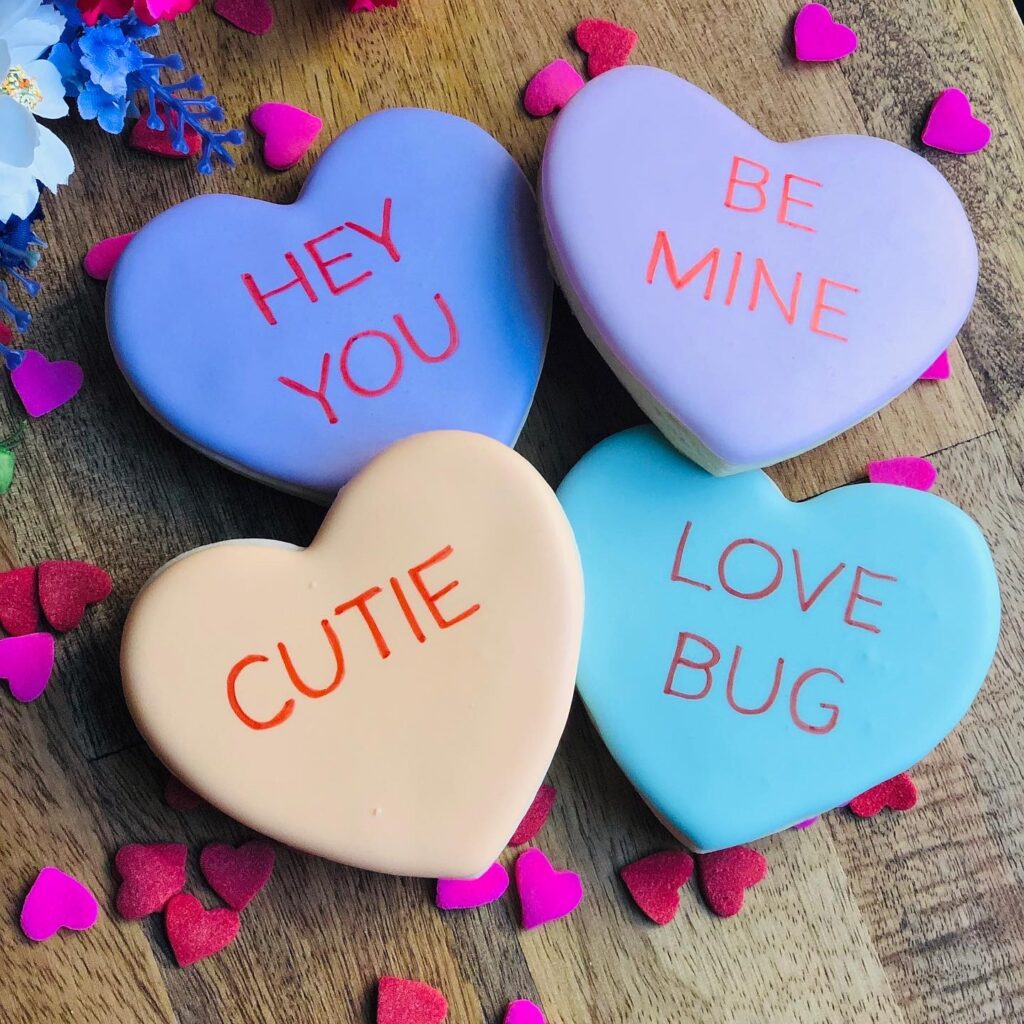
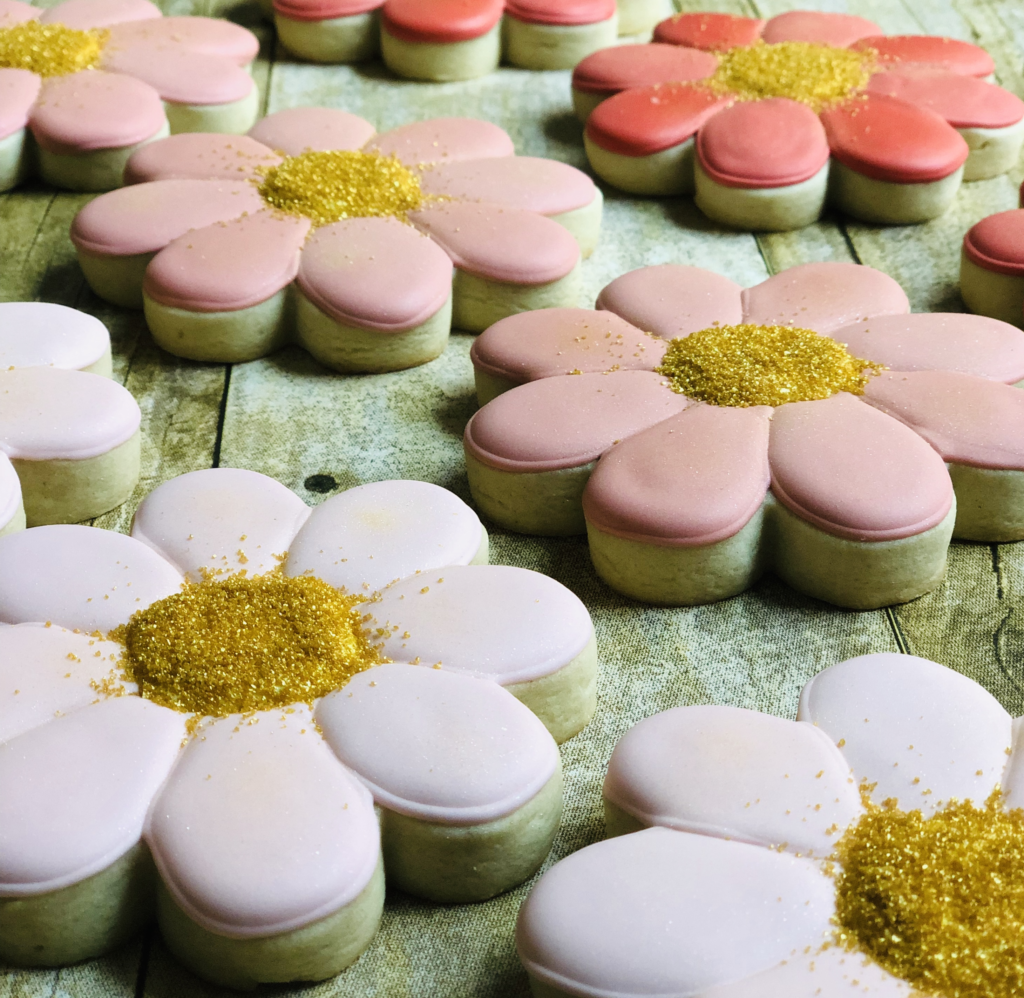
I’ve compiled a list below of some items I think are great, basic tools that will give you an enjoyable start. These photos are some SUPPPPERRRR early cookie sets I decorated from when I was in the beginning stages, and I used the tools below (or some very similar to them) to help me.
This post contains affiliate links, which means if you decide to click on it and make a product purchase, I may make a small commission at no extra cost to you. I truly appreciate your support!
1. A good, NO SPREAD cut-out sugar cookie recipe
- Key word…NO SPREAD. Ok, that’s two words, but it is vital you find one that doesn’t spread.
- Do NOT use the cookie dough roll or premade mix you can buy at the store and expect for them to hold their shapes when you bake them. That dough may taste good, but when it comes to spreading? NO BUENO.
- There are so many different recipes out there, so you’ll just want to find one that at least claims to be no spread AND specifically made for cut out sugar cookies.
- I have one recipe I use frequently, and it hasn’t failed me yet! If you’d like to try it, you can find it here in my NO SPREAD SUGAR COOKIE RECIPE post.
2. Mixer
- If you don’t have a fancy stand mixer, that’s A-ok. You really don’t need one at this early stage.
- A dandy little HAND MIXER will certainly get the job done right now.
- You don’t need any special attachments. You probably already have one of these in your cabinet!
3. Baking Sheets
- So, when I started, I just used the cookie sheets I already had on hand, which were something like these basic WILTON COOKIE SHEETS.
- The size and color of pans do eventually make a difference, but it isn’t a big enough difference to justify buying better ones now. Just use what you have!
4. Parchment Paper
- Parchment paper does help the cookies bake more evenly, and it makes for faster clean up! I’d say that is a definite WIN/WIN.
- You can just buy a roll of it at your local grocery store or, if you want to make it even simpler for yourself, you can get PRE-CUT PARCHMENT SHEETS.
- Honestly, I use parchment paper in other areas of my life outside of baking, so you can’t go wrong here having it in stock. It’s so versatile!
5. Cooling Racks
- When the cookies come out of the oven, they’ll cool for a bit and finish baking on the cookie sheet, but they need a place to go to completely cool…enter COOLING RACKS.
- I like those linked above by Wilton, but there are so many different versions that lay down, stack up, etc. Just grab some that fit your preference and price range. You don’t need anything super special here.
4. Rolling Pin
- So, you could get by using whatever kind of long, cylindrical (food safe) shape you can find to roll dough, but a good rolling pin will save you a lot of fuss.
- It’s also a good staple to have in your kitchen whether you decorate cookies or not.
- My favorite rolling pin I’ve had since DAY ONE of my cookie decorating journey is this WILTON 20 INCH ROLLING PIN. I don’t use the sizing rings with it, though. I use a different system for rolling even dough, but that’s for another day.
- BUT, you can totally get by with a super STANDARD ROLLING PIN for the time being. If you find you want to take cookie decorating more seriously down the road, though, I promise you’ll want something better here like the Wilton one above.
5. Cookie Cutters
- Look, I’ve spent hundreds of dollars on cookie cutters through the years, BUT DON’T BUY SPECIALTY ONES JUST YET!!!
- All you need right now are some basic shapes like circles, rectangles, or anything you may have in your pantry already.
- A packaged set like these HEARTS might be great to just start out with as you test recipes and strategies.
6. A good Royal Icing recipe
- Not all, but most sugar cookies are decorated with some sort of royal icing.
- You might want to do some research here to find a recipe you like, but most will contain meringue powder. This is the ingredient that helps the icing set and dry well enough to be packaged. I am a faithful user of WILTON MERINGUE POWDER, but there are many different brands out there.
- You only need a small tub here to start.
- I have a great, soft-bite royal icing recipe you can find HERE if you’d like to try it.
7. Food Gels for coloring icing
- Notice I said food “gels” up there, not food “coloring”. There is a BIG difference.
- Food gels are much thicker than liquid coloring. Liquid coloring will water down your icing too much, which will affect your consistency and give you TONS of headaches. Trust me.
- Speaking of royal icing consistency, that is a whole ‘nother ball game you’ll want to give some attention to. I’ll have a whole post and tutorial dedicated to that coming soon!
- I have always used AMERICOLOR FOOD GELS and love them, but there are many brands you can find in craft stores, etc. Again, just make sure it’s a food GEL.
8. Piping Bags
- So, don’t laugh, but to this day, I still use good ‘ole sandwich Ziplock baggies for 90% of my cookie decorating.
- Do I recommend you do that, too? ONLY IF IT’S WHAT WORKS BEST FOR YOU. You can certainly try it, but you might want to switch over to actual piping bags like the normal decorators use. Normal is relative, though, right? Right?!
- These TIPLESS PIPING BAGS are a great option to start with to house your icing colors and consistencies. What does “tipless” mean? That just means that you don’t need to insert a metal icing tip to decorate cookies, but you can if you want. I rarely use tips. Again, that’s a post for another day, too.
9. Scribes
- Scribes are basically just long, metal toothpicks used to smooth out and manipulate your icing as it covers the cookie.
- You can totally use a regular toothpick for this at this stage in the game, but snagging a few CHEAP SCRIBES like these will make your life easier. They are just simpler for the hand to hold and grip as you learn to flood cookies with icing.
10. Food Storage Bins
- For now, you could stack your cookies (naked or fully dried icing) inside a gallon baggie to store, but using storage bins is much more sturdy.
- I recommend and use these RUBBERMAID STORAGE BINS. I know I can stack five cookies high in these (the inch you roll your cookies to matters here), and I’ve used them for years with success.
And that’s my toolkit for beginning cookie decorators, Ladies and Gents.
Please remember, there are so many different tastes, preferences, strategies, and directions for budding cookie decorators to explore, so I always say this:
Find what works best for you and roll with it. (Pun intended).
As long as you’re upholding all of the food safety standards and practices, there’s no right or wrong way of doing things in the cookie decorating world. I plan to write mannnnny more posts that can help guide you on your cookie decorating quest, and I certainly hope you’ll join me on that ride! Until then, check out the posts below by clicking on the images. Happy baking!
