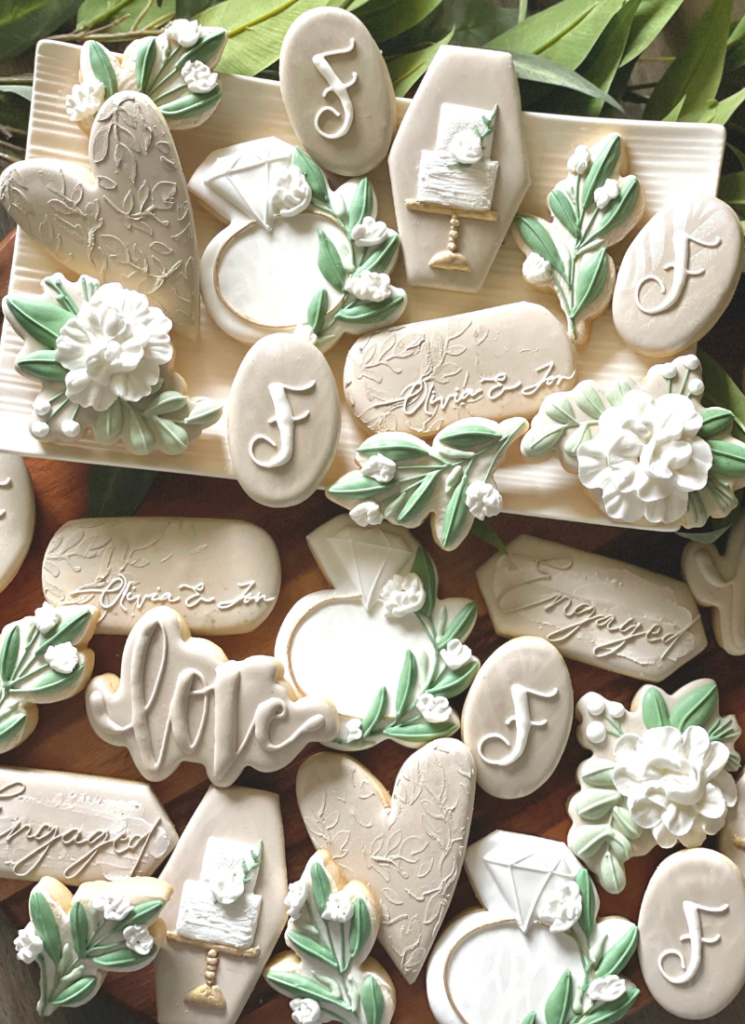
Quite possibly the MOST important thing you will need as you begin your cookie decorating journey is this:
A sugar cookie recipe that DOES NOT SPREAD!

This recipe is everything. It not only has to taste good, but it MUST hold up and hold its shape as it bakes. Sugar cookies that spread are possibly the highest nuisance for any beginning baker, and it can be quite the quest (with TONS of trial and error) to find the perfect recipe that does it for you.
Are you ready to save some headache?
Below, I have the perfect recipe for you. There are even some tweaks you can make to fit your tastes best and some explanations on what the ingredients do for the cookies. All of the cookies in the photos below were made by me using this recipe, and it hasn’t failed me yet!
AND A BONUS?! This recipe comes with rave reviews from all my sweet cookie customers!
I hope this recipe works as well for you as it does me. If you need some help troubleshooting, don’t hesitate to reach out to me. Happy baking!


Some links on this page are affiliate links, which means that if you click on them and decide to make a purchase, I may earn a commission at no extra cost to you. I certainly appreciate your support!
Sugar Cookie Recipe:
- 2 sticks of butter (I always use salted, because I’m a salt rebel.)
- 1 cup powdered sugar
- 2.5 cups of all-purpose flour
- 1 tsp of salt
- 2 tsp of cornstarch
- 3/4 tsp of baking powder
- one egg
- 1 heaping tsp of vanilla extract
- 1 1/4 tsp of almond extract
Instructions:
- Set out your butter, but do not let it get all the way to room temperature. This helps keep your dough from spreading. Once it has reached a cool temperature (but not fully cold from the fridge), cube it, and stick it in the mixer. I like to mix the butter alone for a bit.
- Add in your powdered sugar* to the butter and cream it together until it is combined.
- In a cup, whisk together your egg and extracts a tad, then mix that mixture in with the butter/sugar. You can add any kind of flavored extracts or emulsions here, but vanilla and a little almond has always been my fav!
- In a separate bowl, combine all of the dry ingredients (flour, salt*, cornstarch*, and baking powder). Then, add this slowly into your wet mixture. Mix until combined.
- For best results, I like to flatten this dough into a large disc, cover with plastic wrap, insert that into a gallon baggie, and refrigerate it for several hours (or up to 3 days) while the flavors intensify. It freezes super well, too!
*POWDERED SUGAR NOTE: You can use granulated sugar here (or even some brown sugar), but the type of sugar you use WILL AFFECT THE TEXTURE of your cookie. Powdered sugar gives you a more airy, light texture that slightly resembles more of a shortbread taste, and granulated gives you a more dense, chewy texture. I like both, but the powdered sugar version seems to have a longer shelf life, in my opinion.
*SALT NOTE: If salt isn’t your thing like it is mine, you can use unsalted butter, but make sure you add some salt in the dough. I use salted butter AND add some extra salt in the dough….I’m a rebel, remember?
*CORNSTARCH NOTE: I add cornstarch to lots of my doughs. Not only does it help keep your cookies more tender, but it can help with spreading, too. Scientifically, it helps to soften the harsh proteins in the flour, which results in a more light and enjoyable bite.
The Dough Rolling and Baking Part:
- From the fridge, let your dough warm a bit until you’re able to roll it out.
- Preheat your oven to 375 degrees F.
- I will have more posts with instructions on how I roll my dough evenly with this DOUGH EZ MAT. Until those are posted and updated here, you can roll the dough between pieces of parchment paper dusted with flour.
- Cut out shapes using your desired cookie cutters.
- Make sure you put cut outs similar in size on the same baking sheet (I would cover the baking sheet with a piece of PARCHMENT PAPER. I also love using PERFORATED SILICON BAKING MATS to help with spreading…more info on that coming, too.)
- Bake one sheet at a time at 375F for 8-11 minutes. *IMPORTANT: Please understand that ovens vary VASTLY, and things like altitude and climate can easily affect bake temps/times. You may have to use your judgement here based on your oven. My advice would be to start a bake time of 8 minutes, then keep an eye on them until you have the bake time for your oven down. I would also turn the tray in the oven at least once during the bake session.
- Let cookies cool on the cookie sheet until you’re able to transfer them to a WIRE RACK.
- Once fully cooled, store them in an AIRTIGHT CONTAINER until you are ready to ice them.